Appearance
Preparation of the Wheel Base
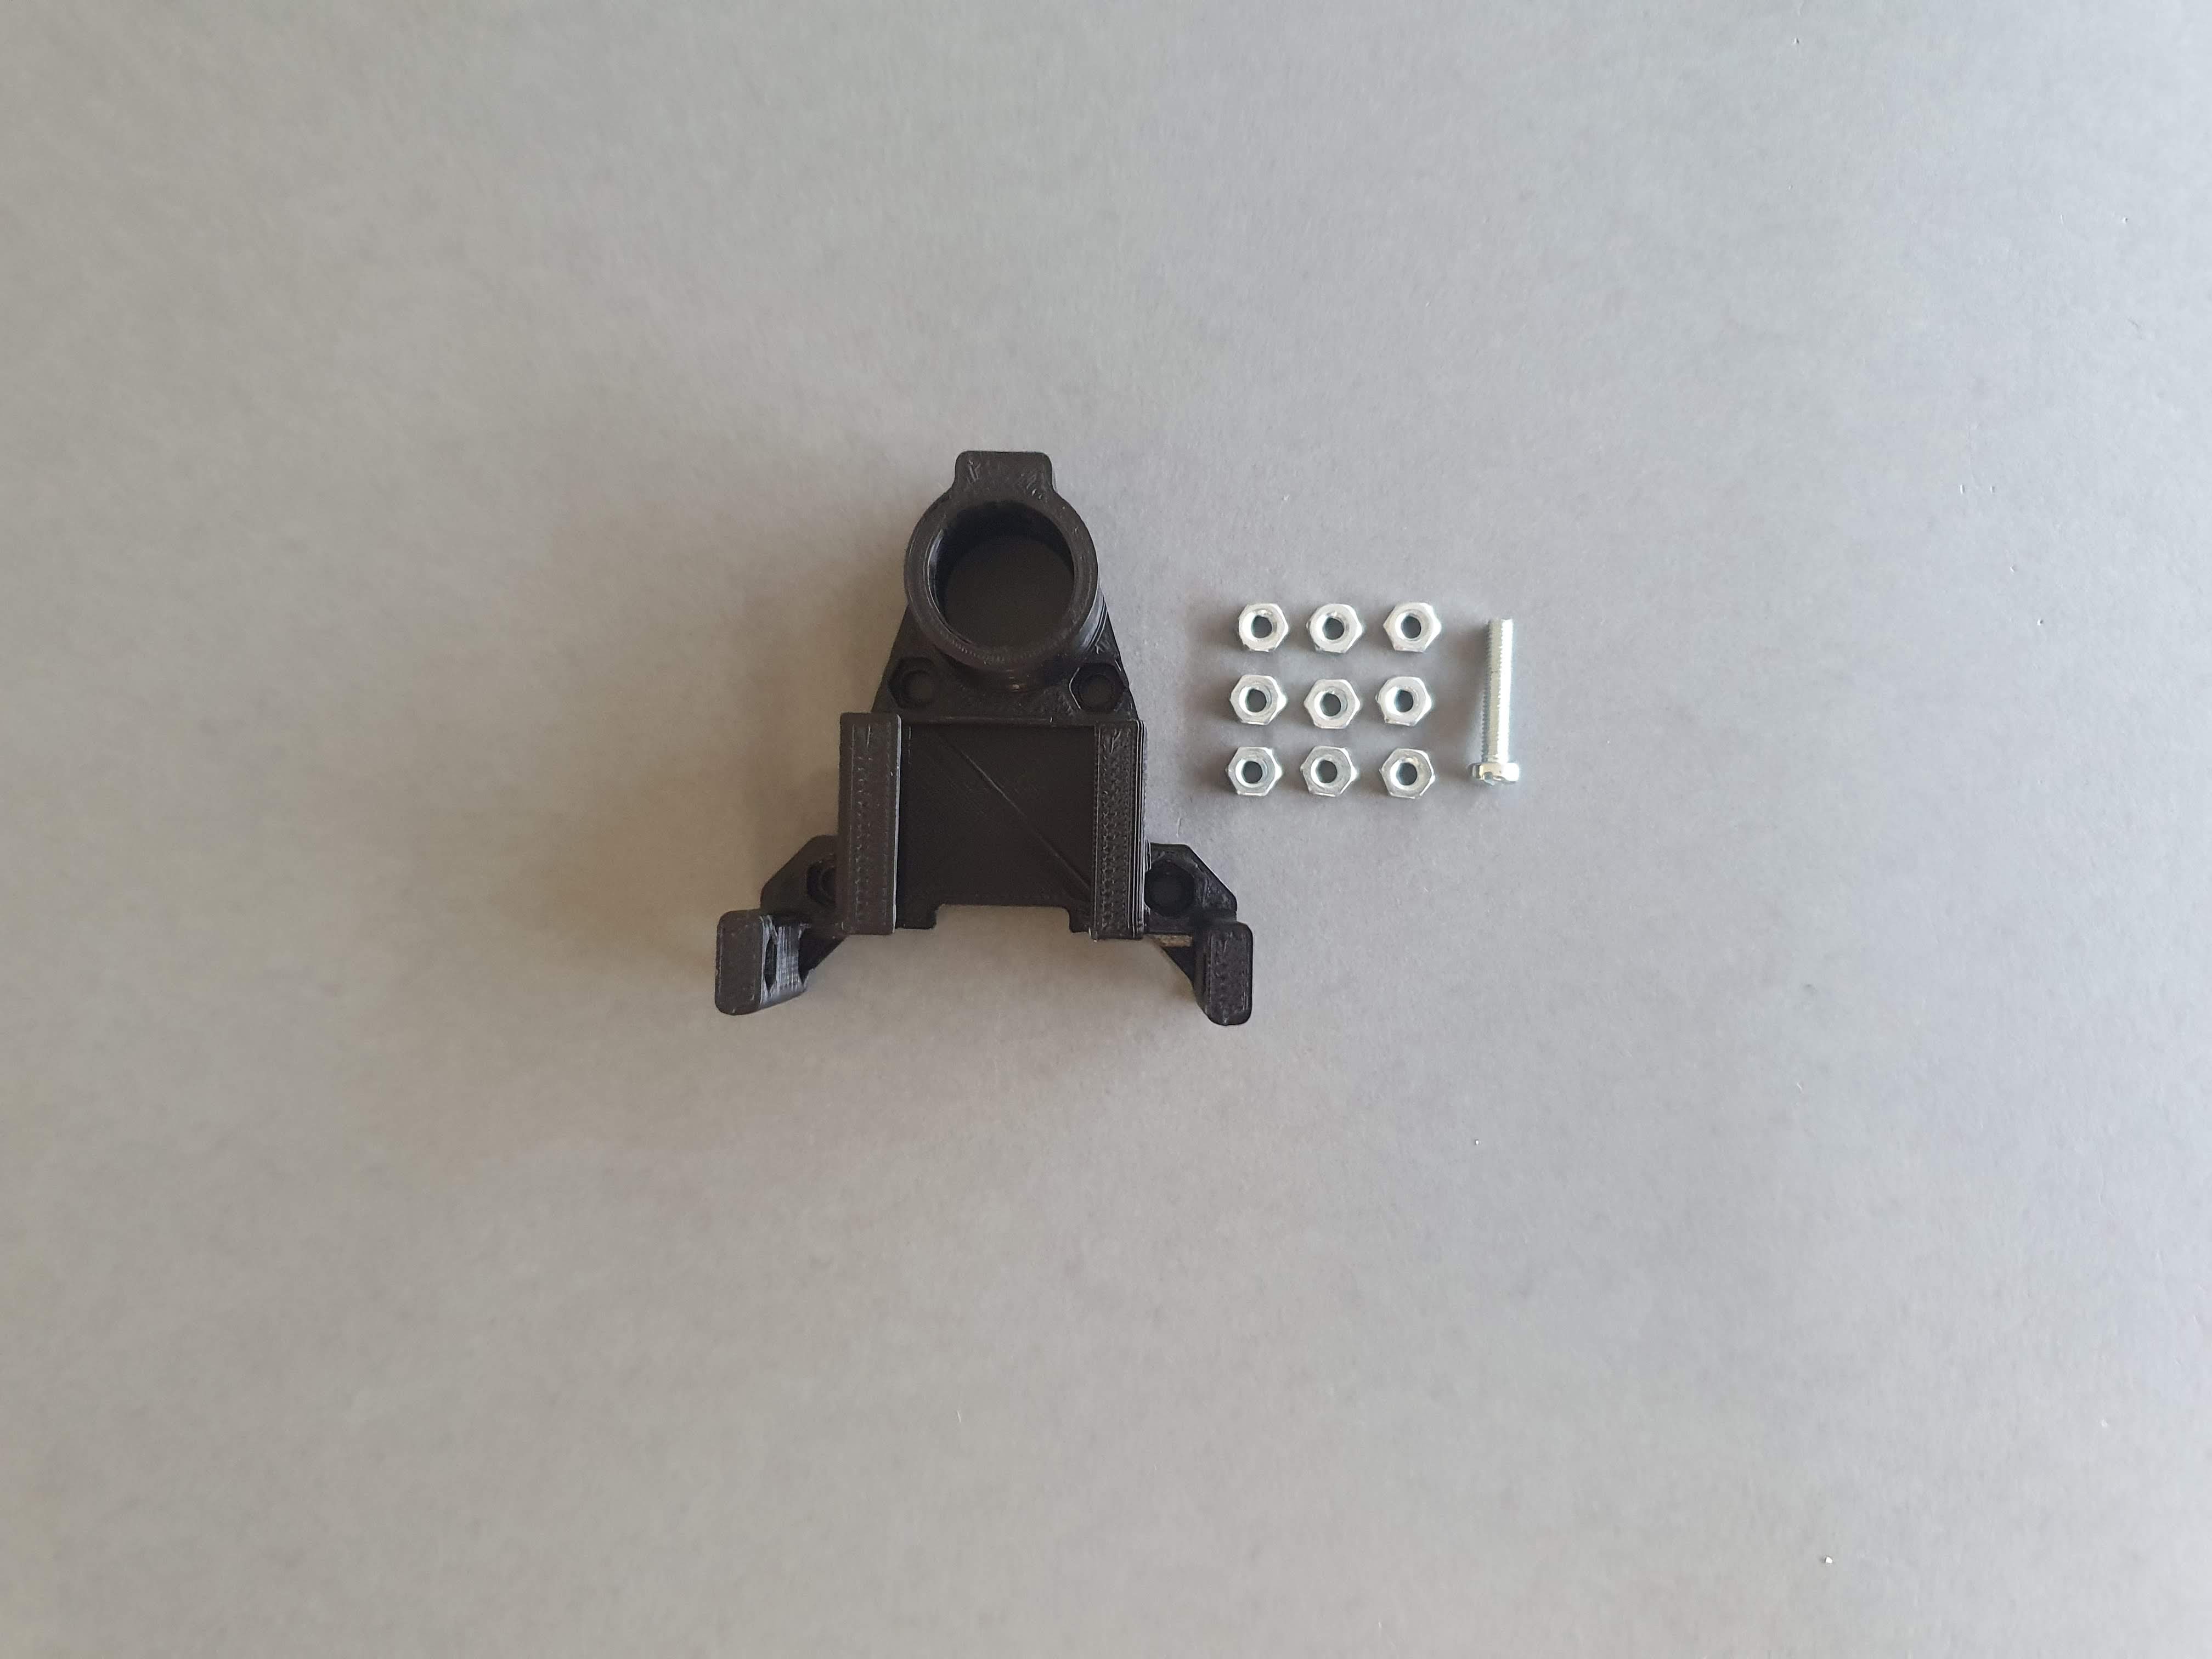
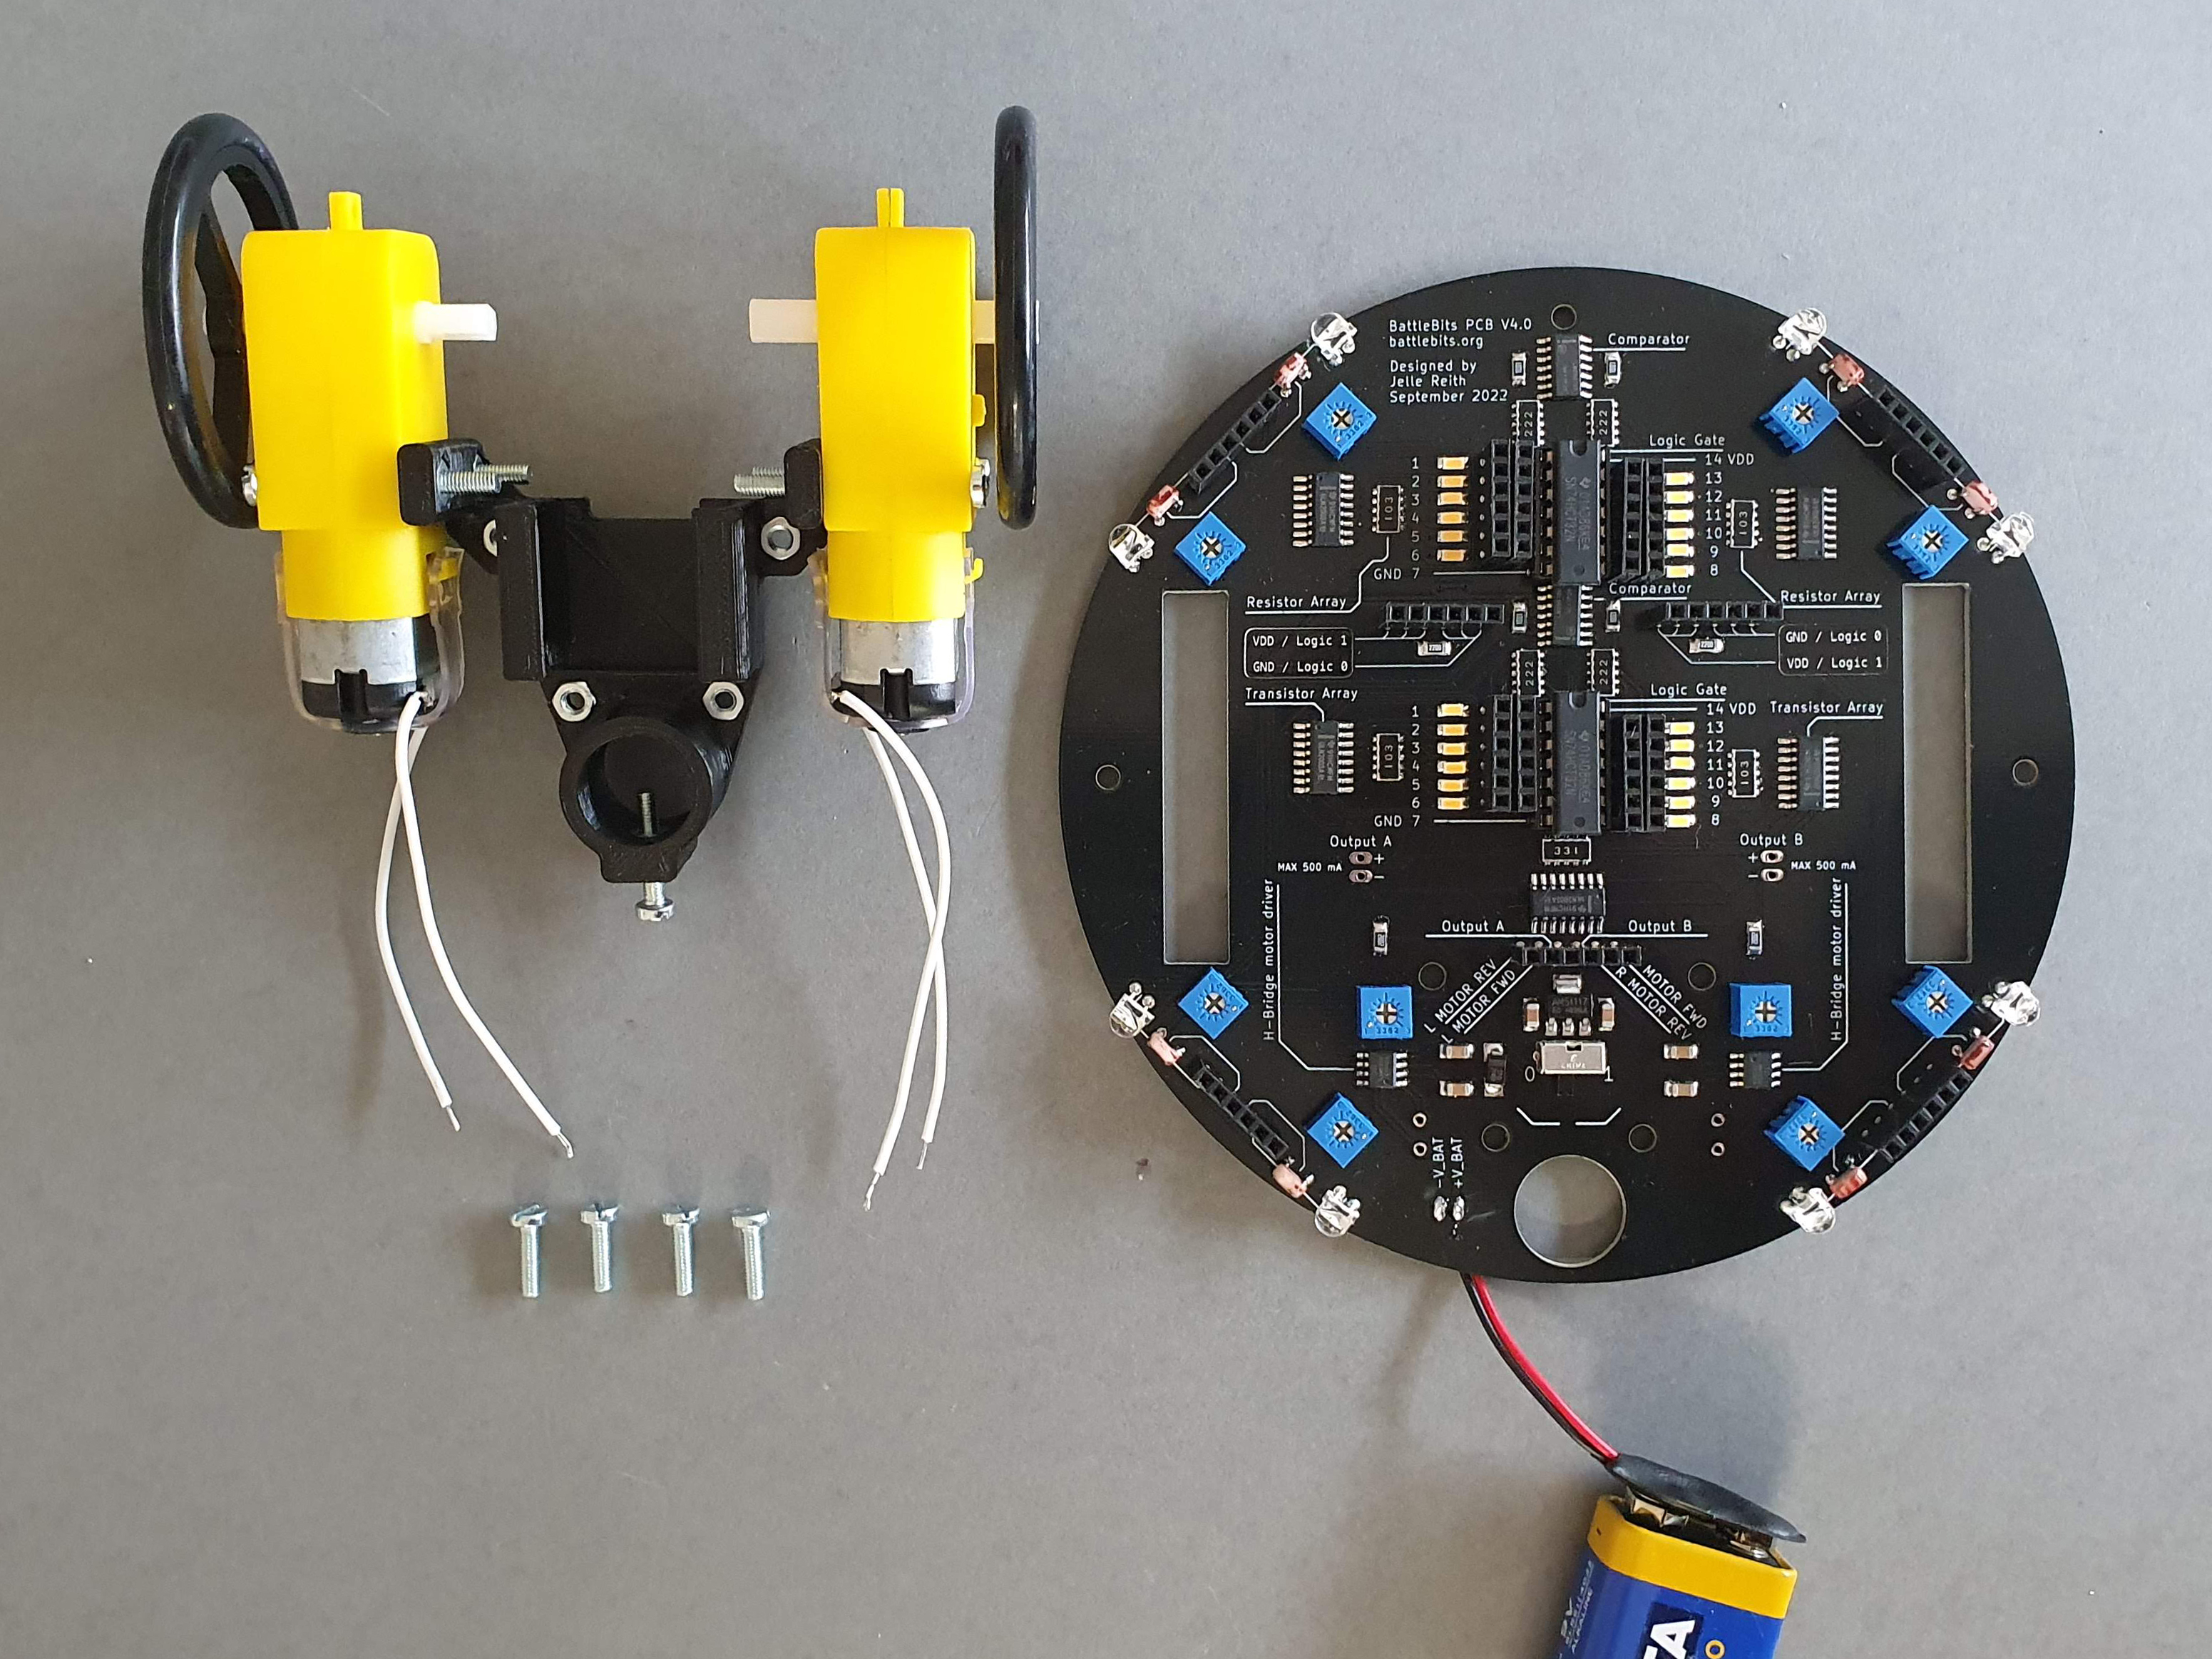
Materials:
- Wheel base
- 9 x hex nuts
- 1 x 18mm bolt
Steps:
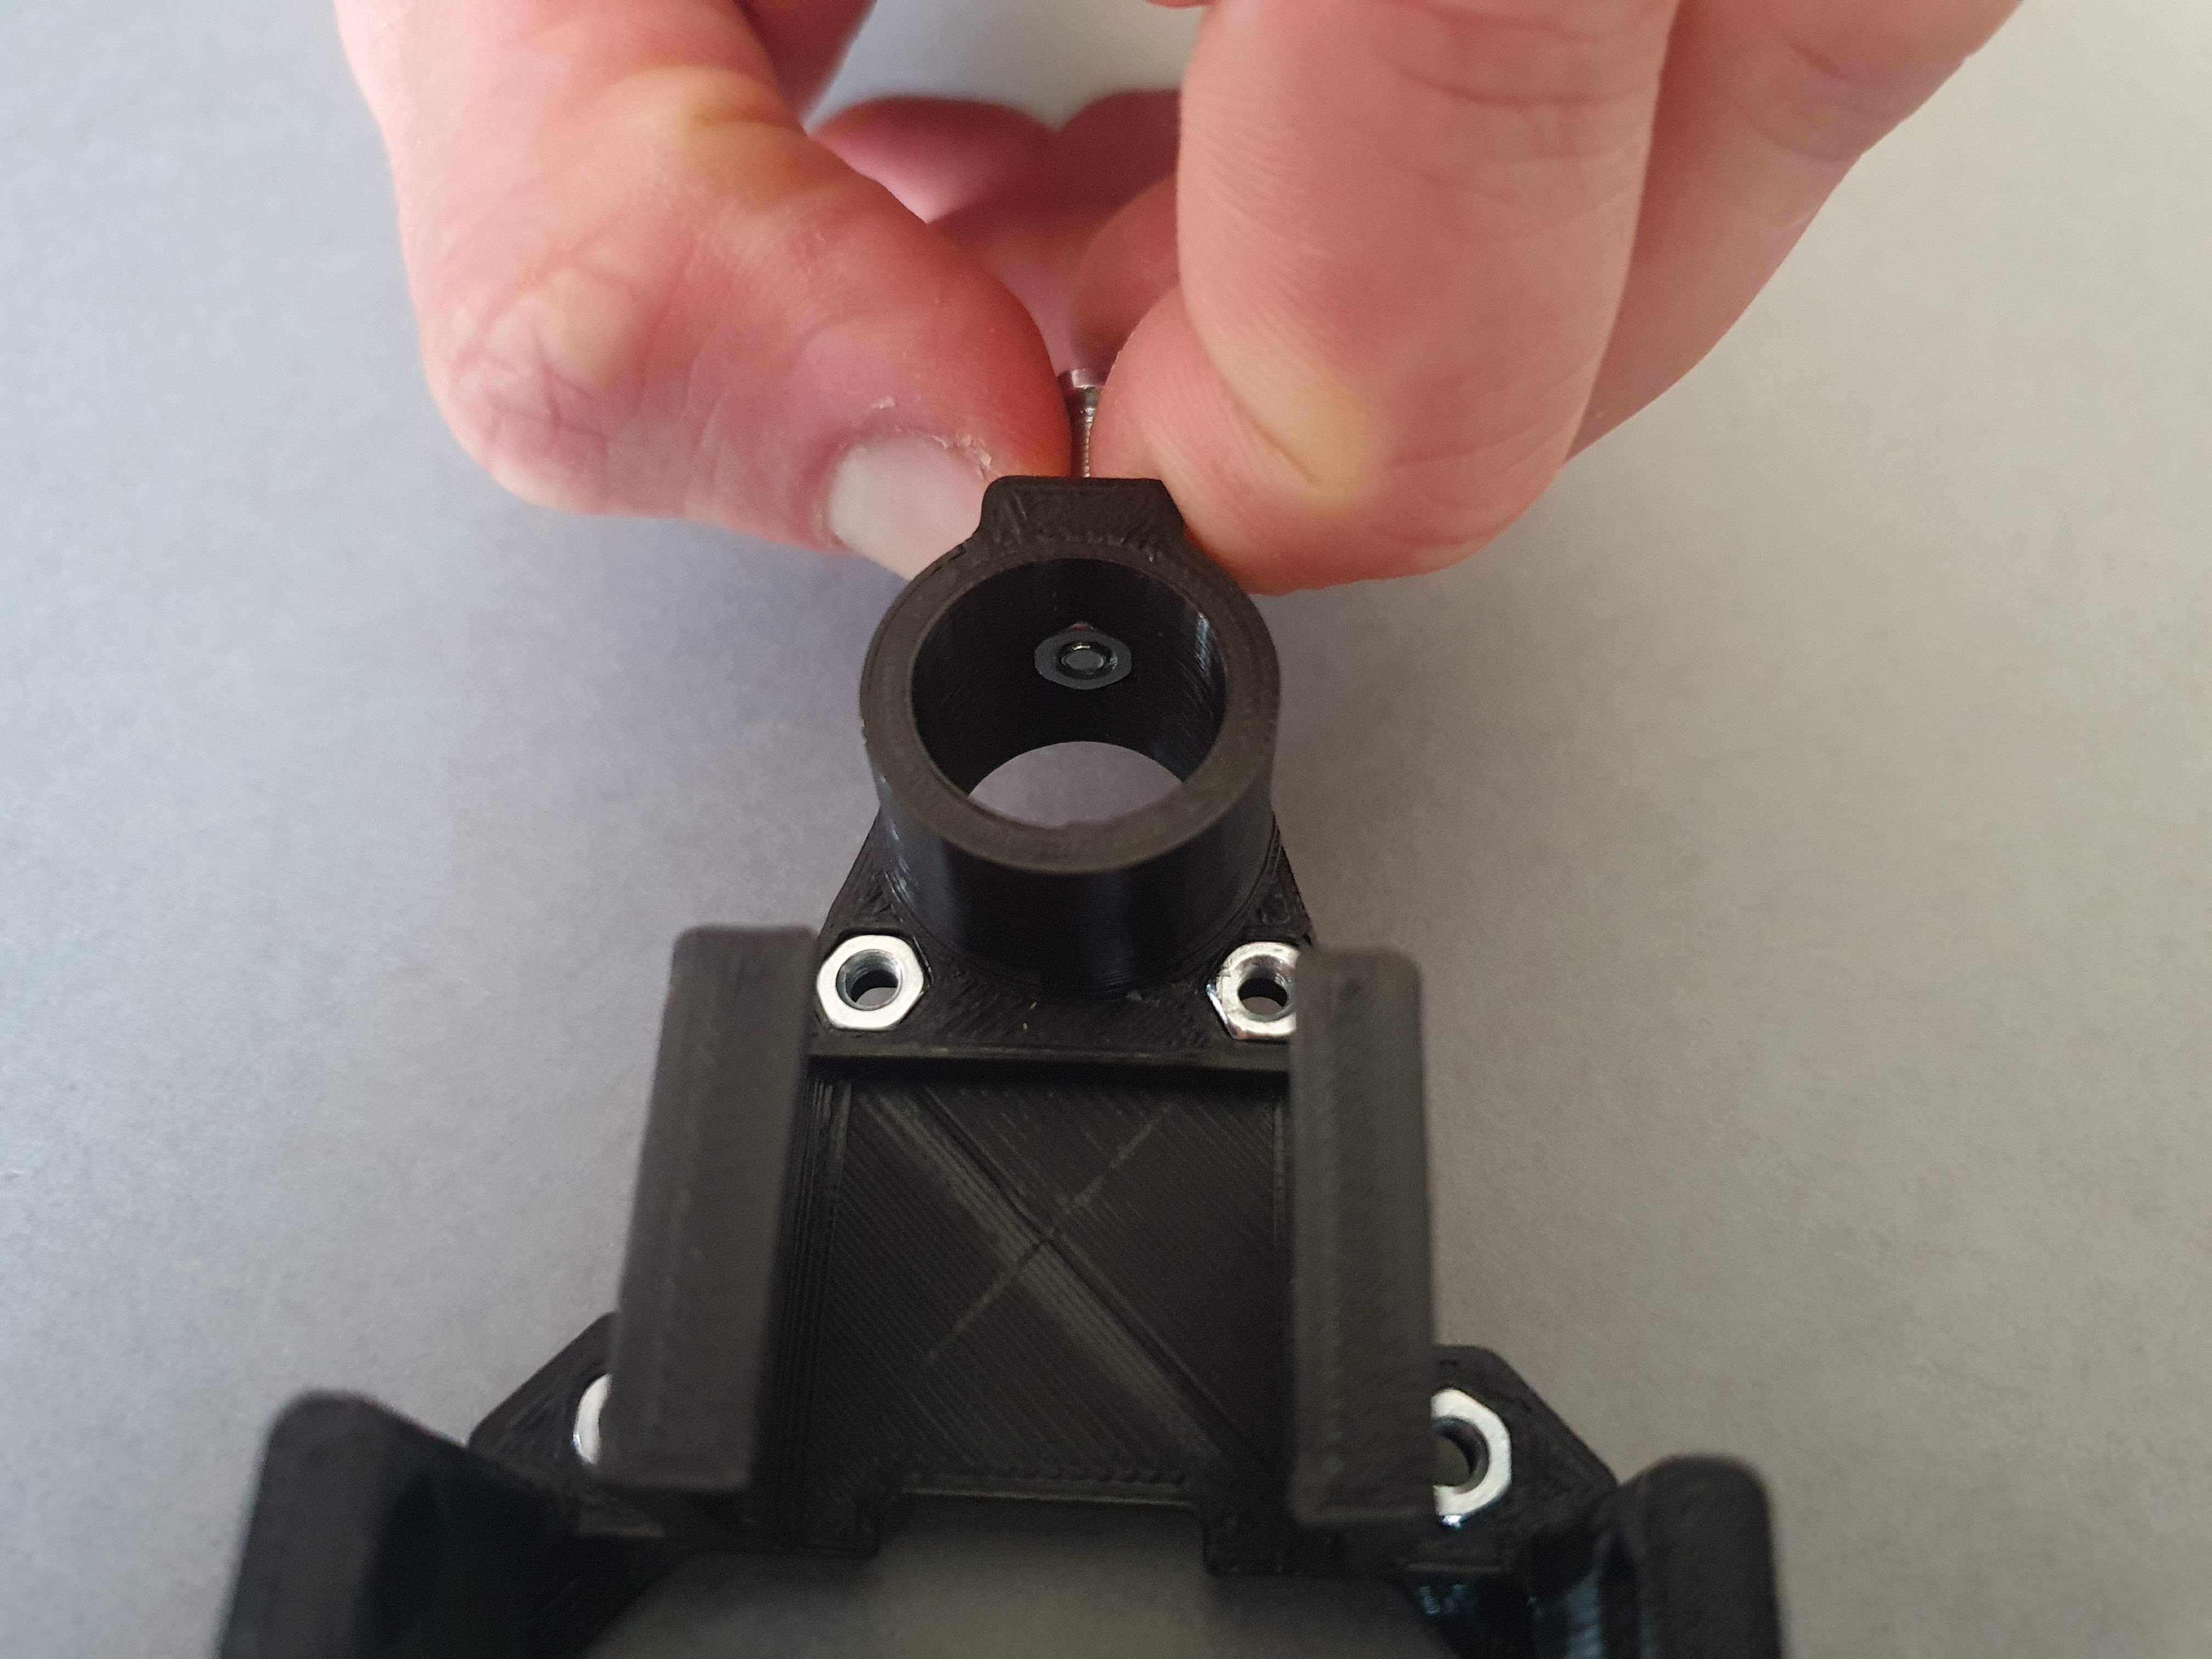
- 1: Place the 9 hex nuts in the corresponding holes of the Wheel Base
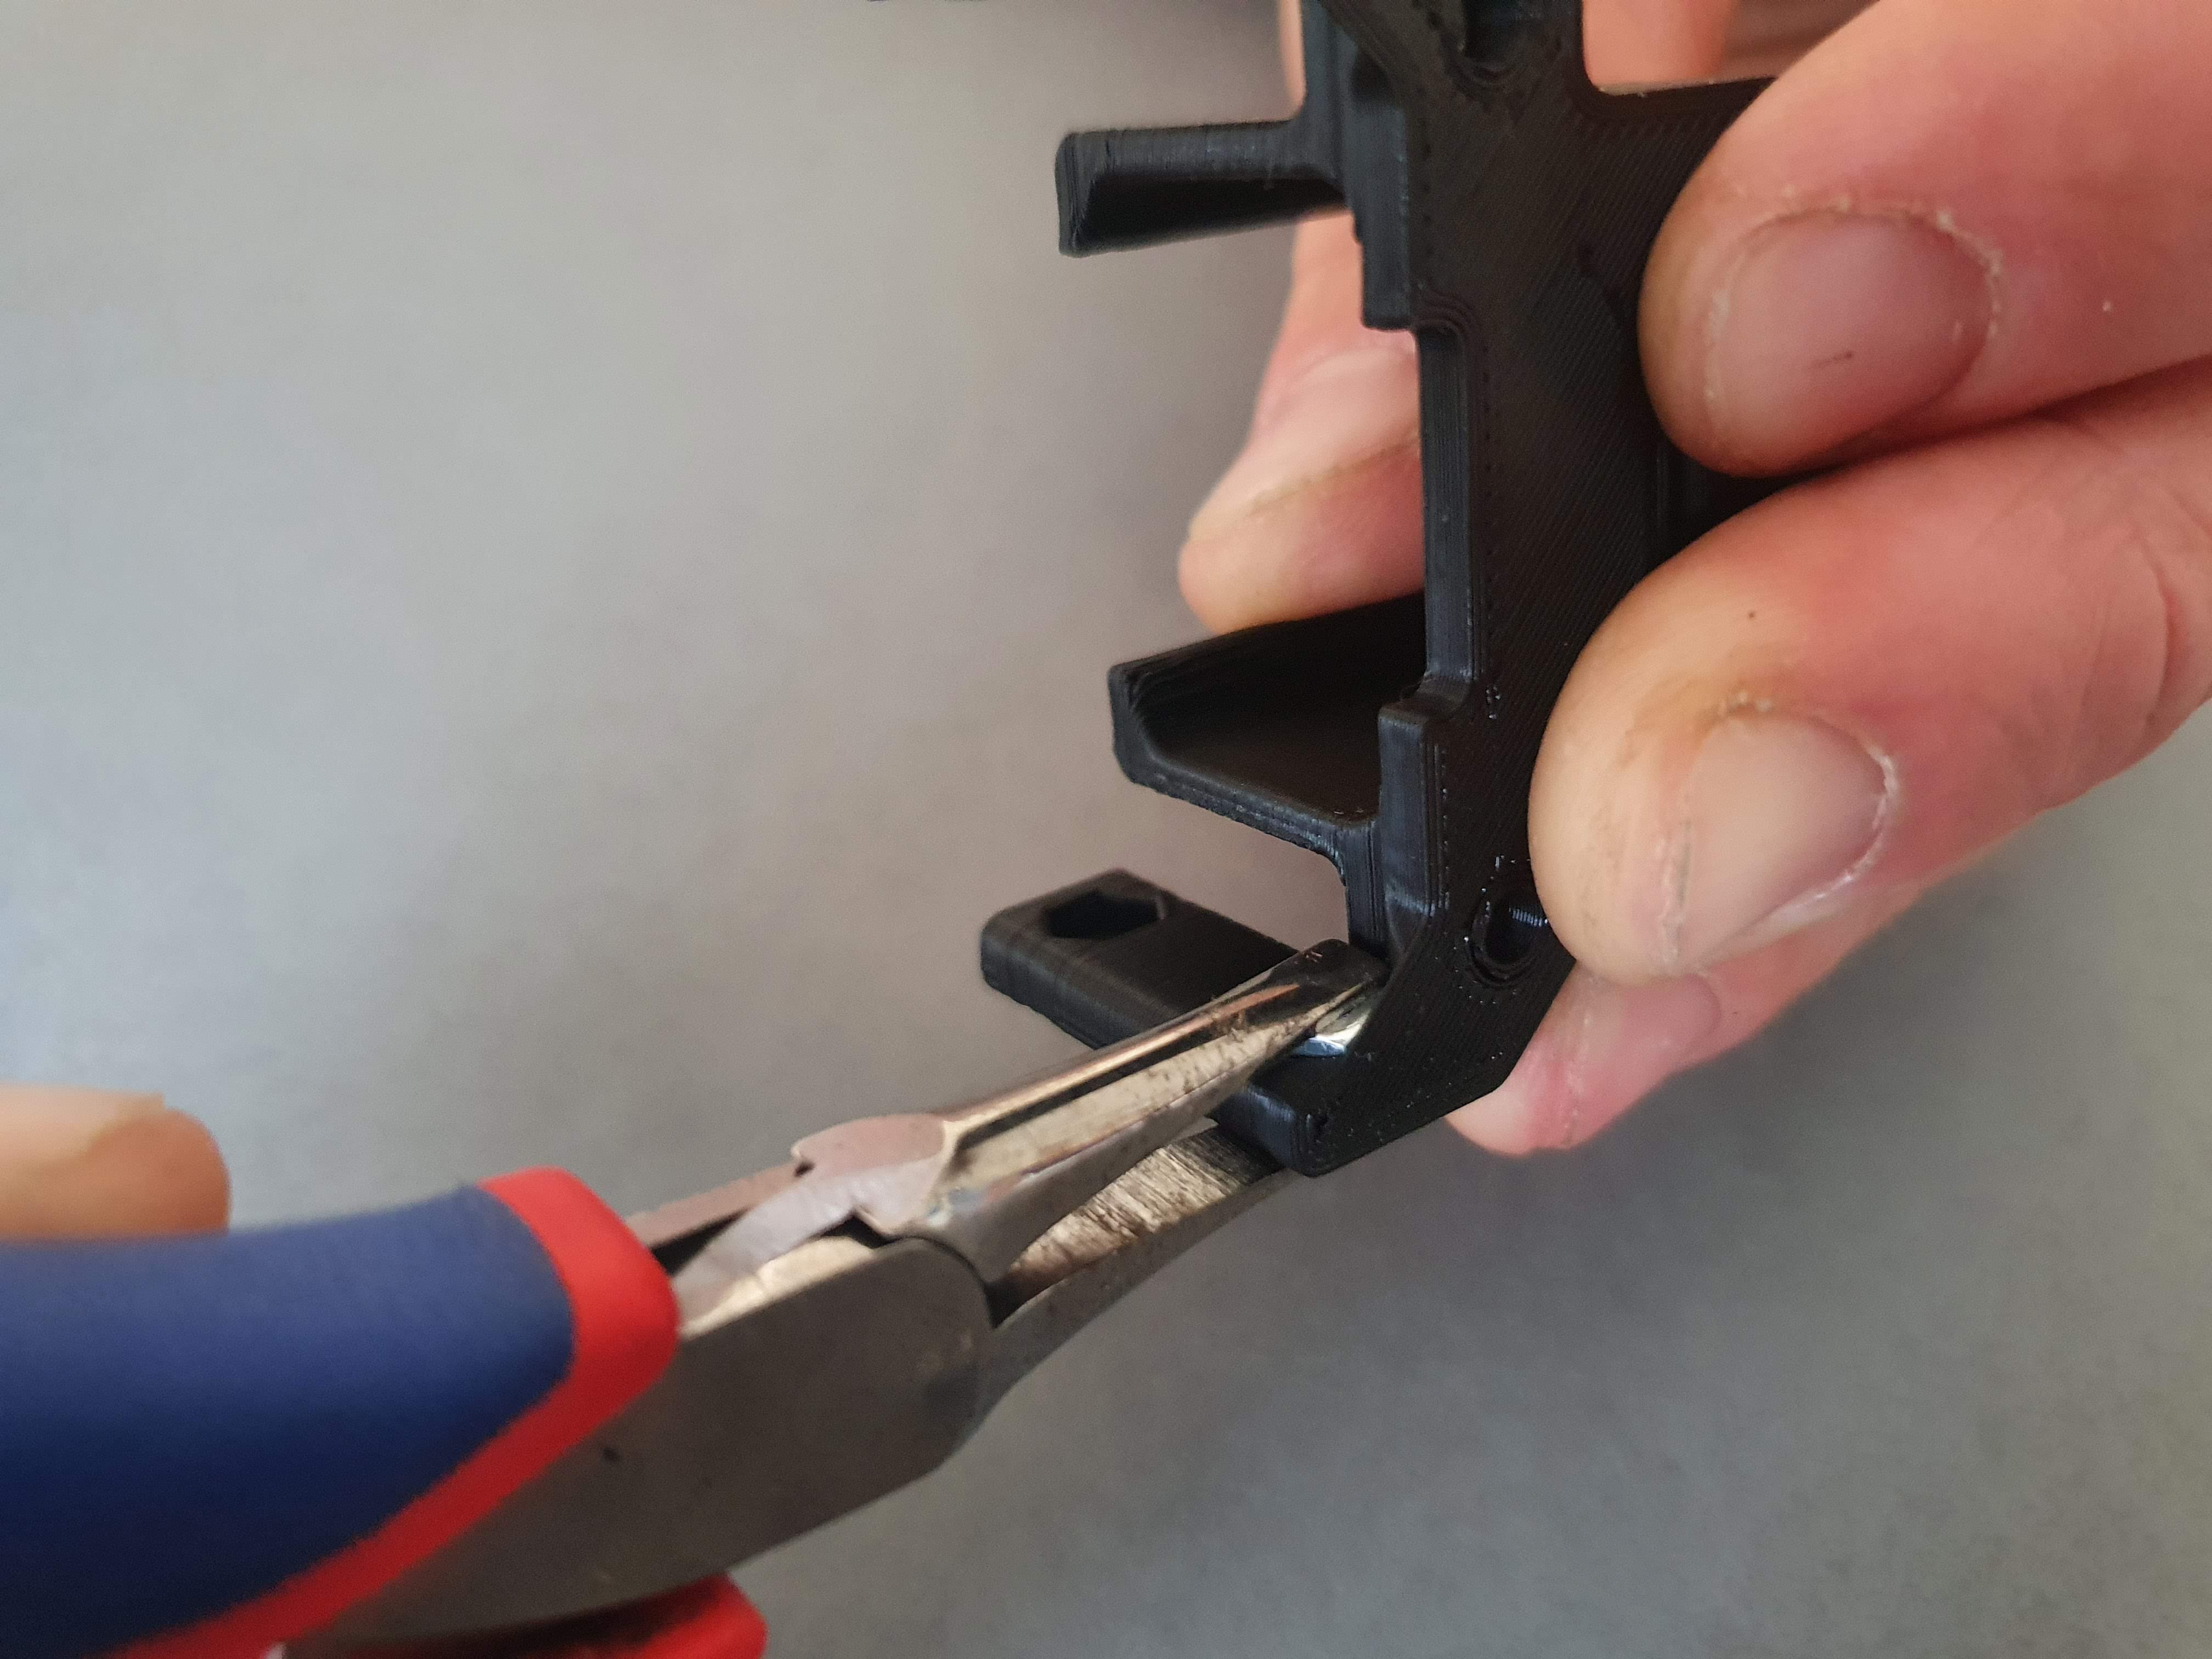
- 2: Place the 18mm bolt in the hole. If you have trouble placing the hex nut inside the tube you can also thread in on the bold and draw it in the hole
Preparation of the motors
Materials:
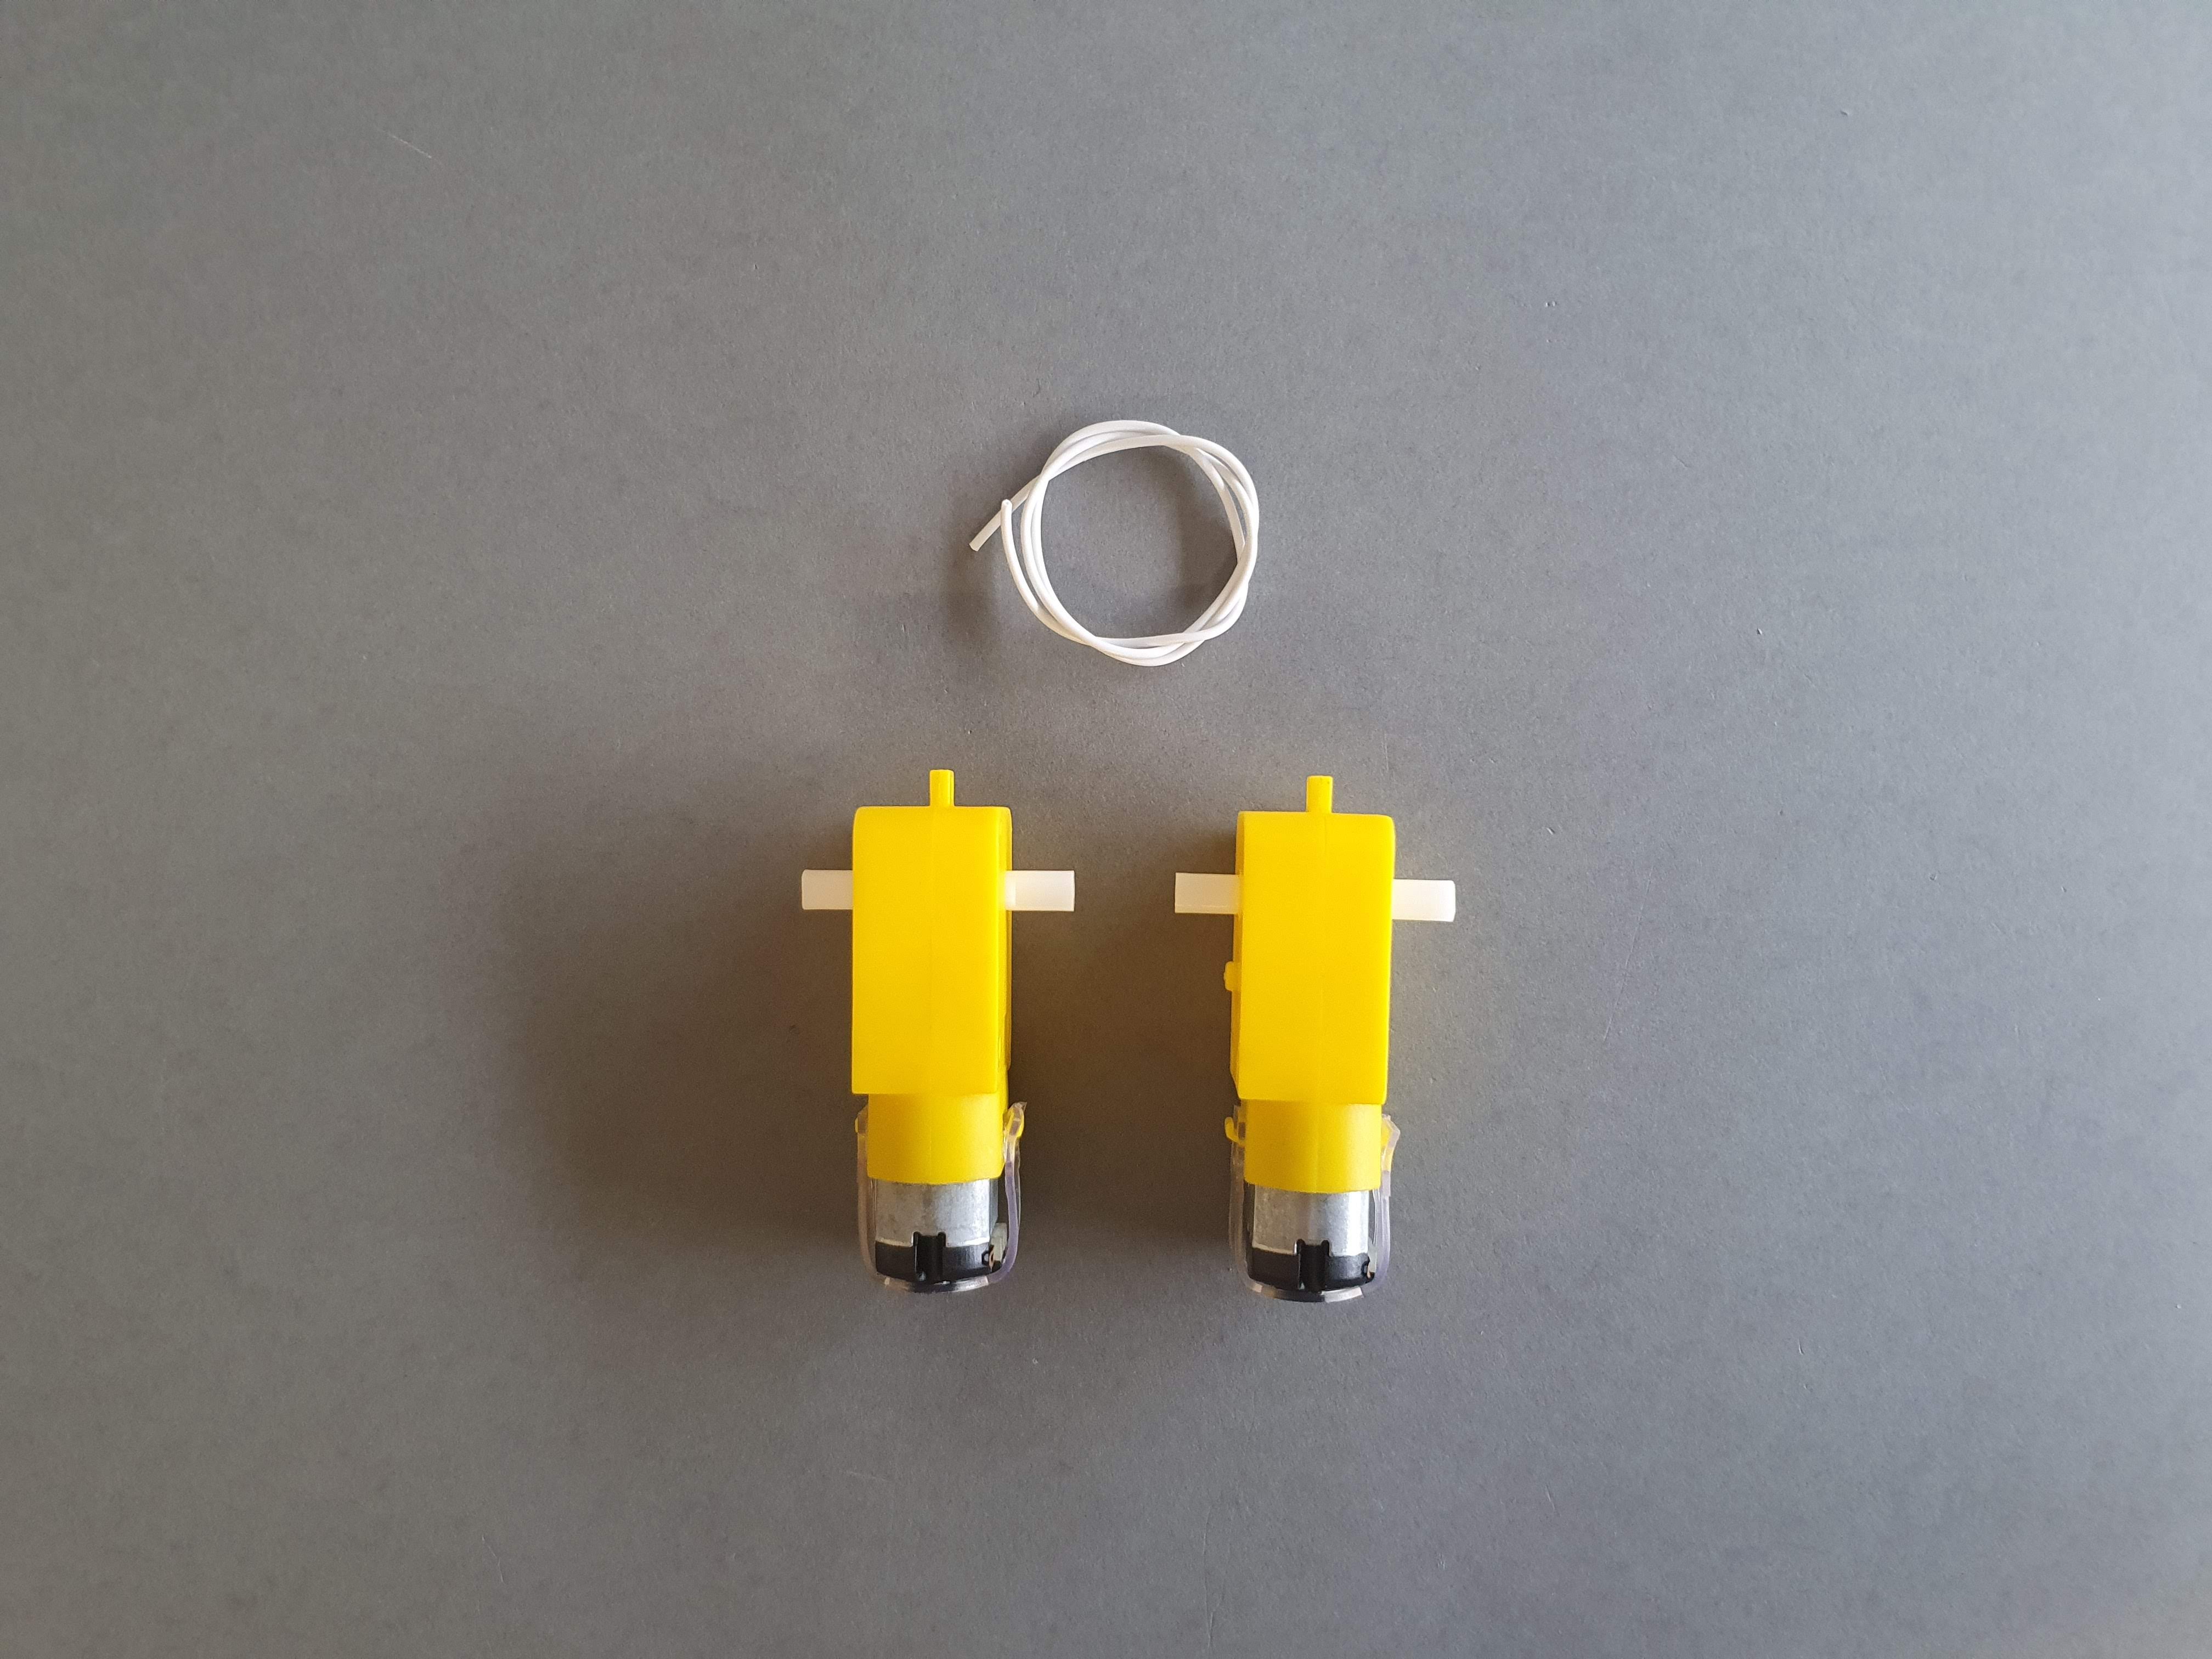
- 1 x White wire
- 2x Yellow Gear Motors
Steps:
- 1: Take the white wire and cut in to four equal pieces

- 2: Use pliers to strip 2 mm of the wires and solder them as shown
- 3: Tin the exposed ends
- 4: Solder the wires to the motor
Attach motors to Wheel Base
Materials:
- 1 x Wheel Base
- 2 x Motors
- 4 x 30 mm bolts

Steps:
- 1: Place the motors and attach them with 30mm bolts. Make sure the motor leads are facing inwards

Assemble the wheels and attach them to the Wheel Base
Materials:
- 1 x Prepared Wheel Base with motors
- 2 x 50mm o-ring
- 2 x Wheels
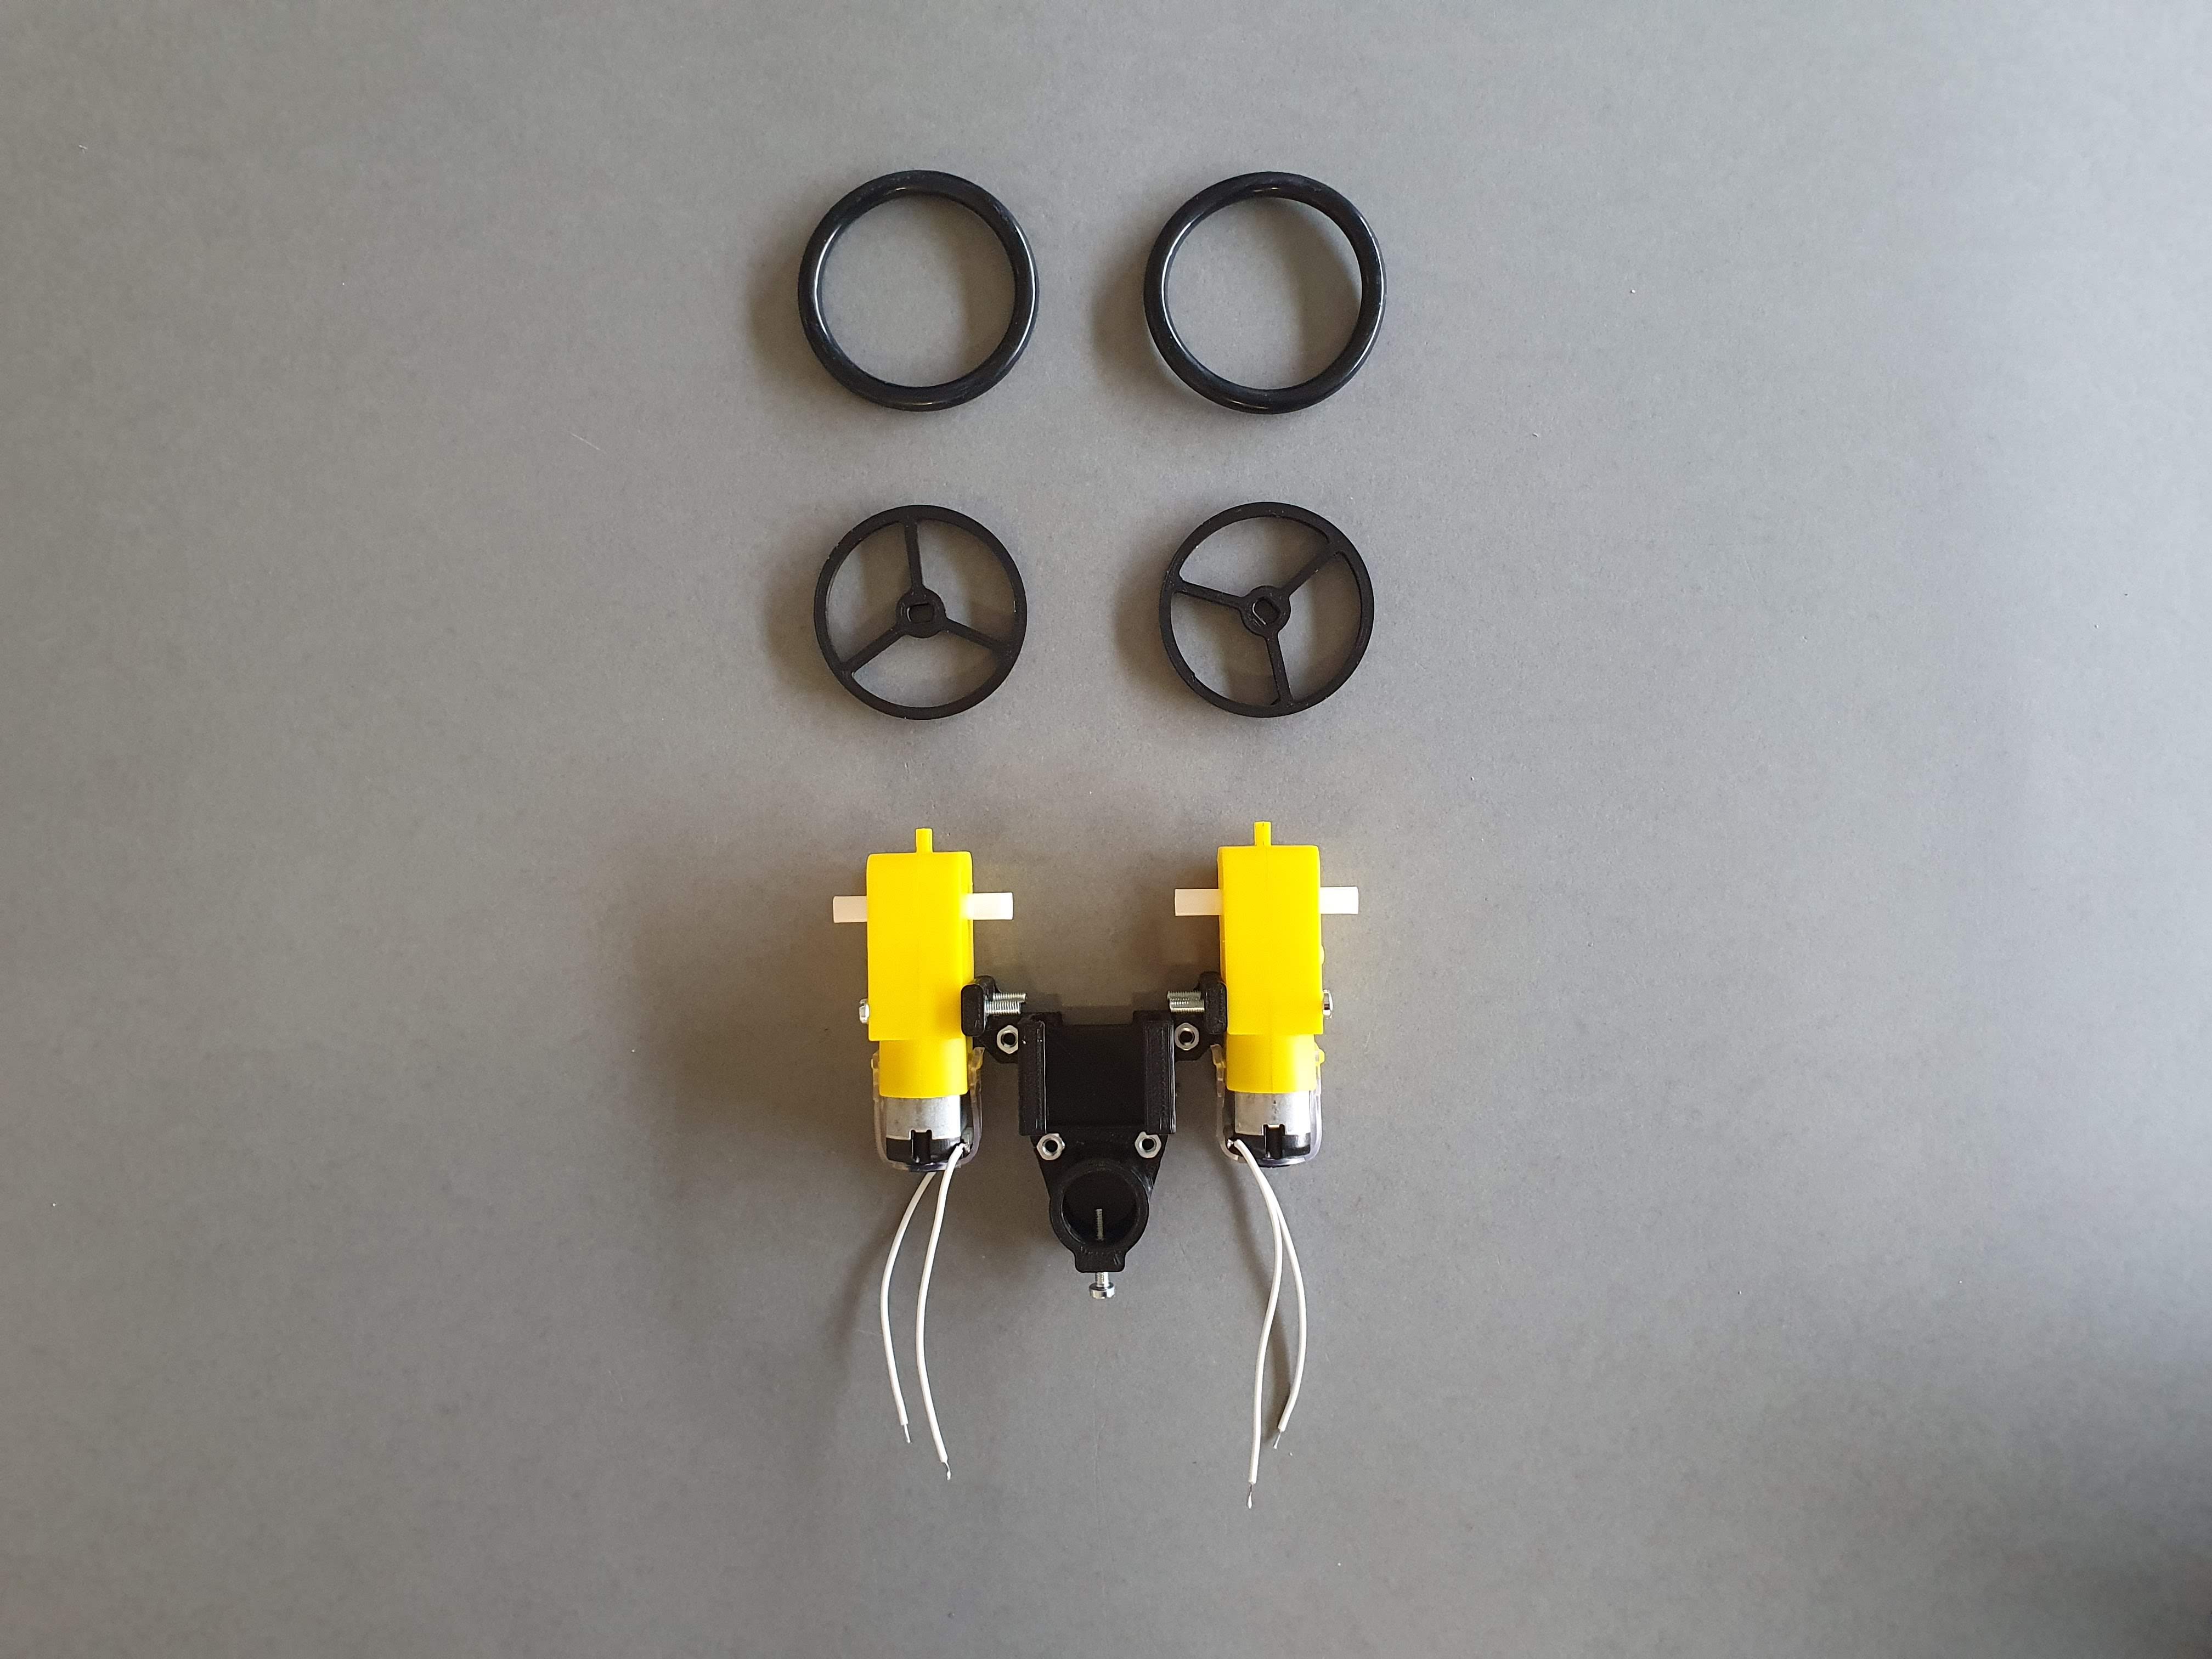
Steps:
- 1: Place the 50mm o-rings on the wheels
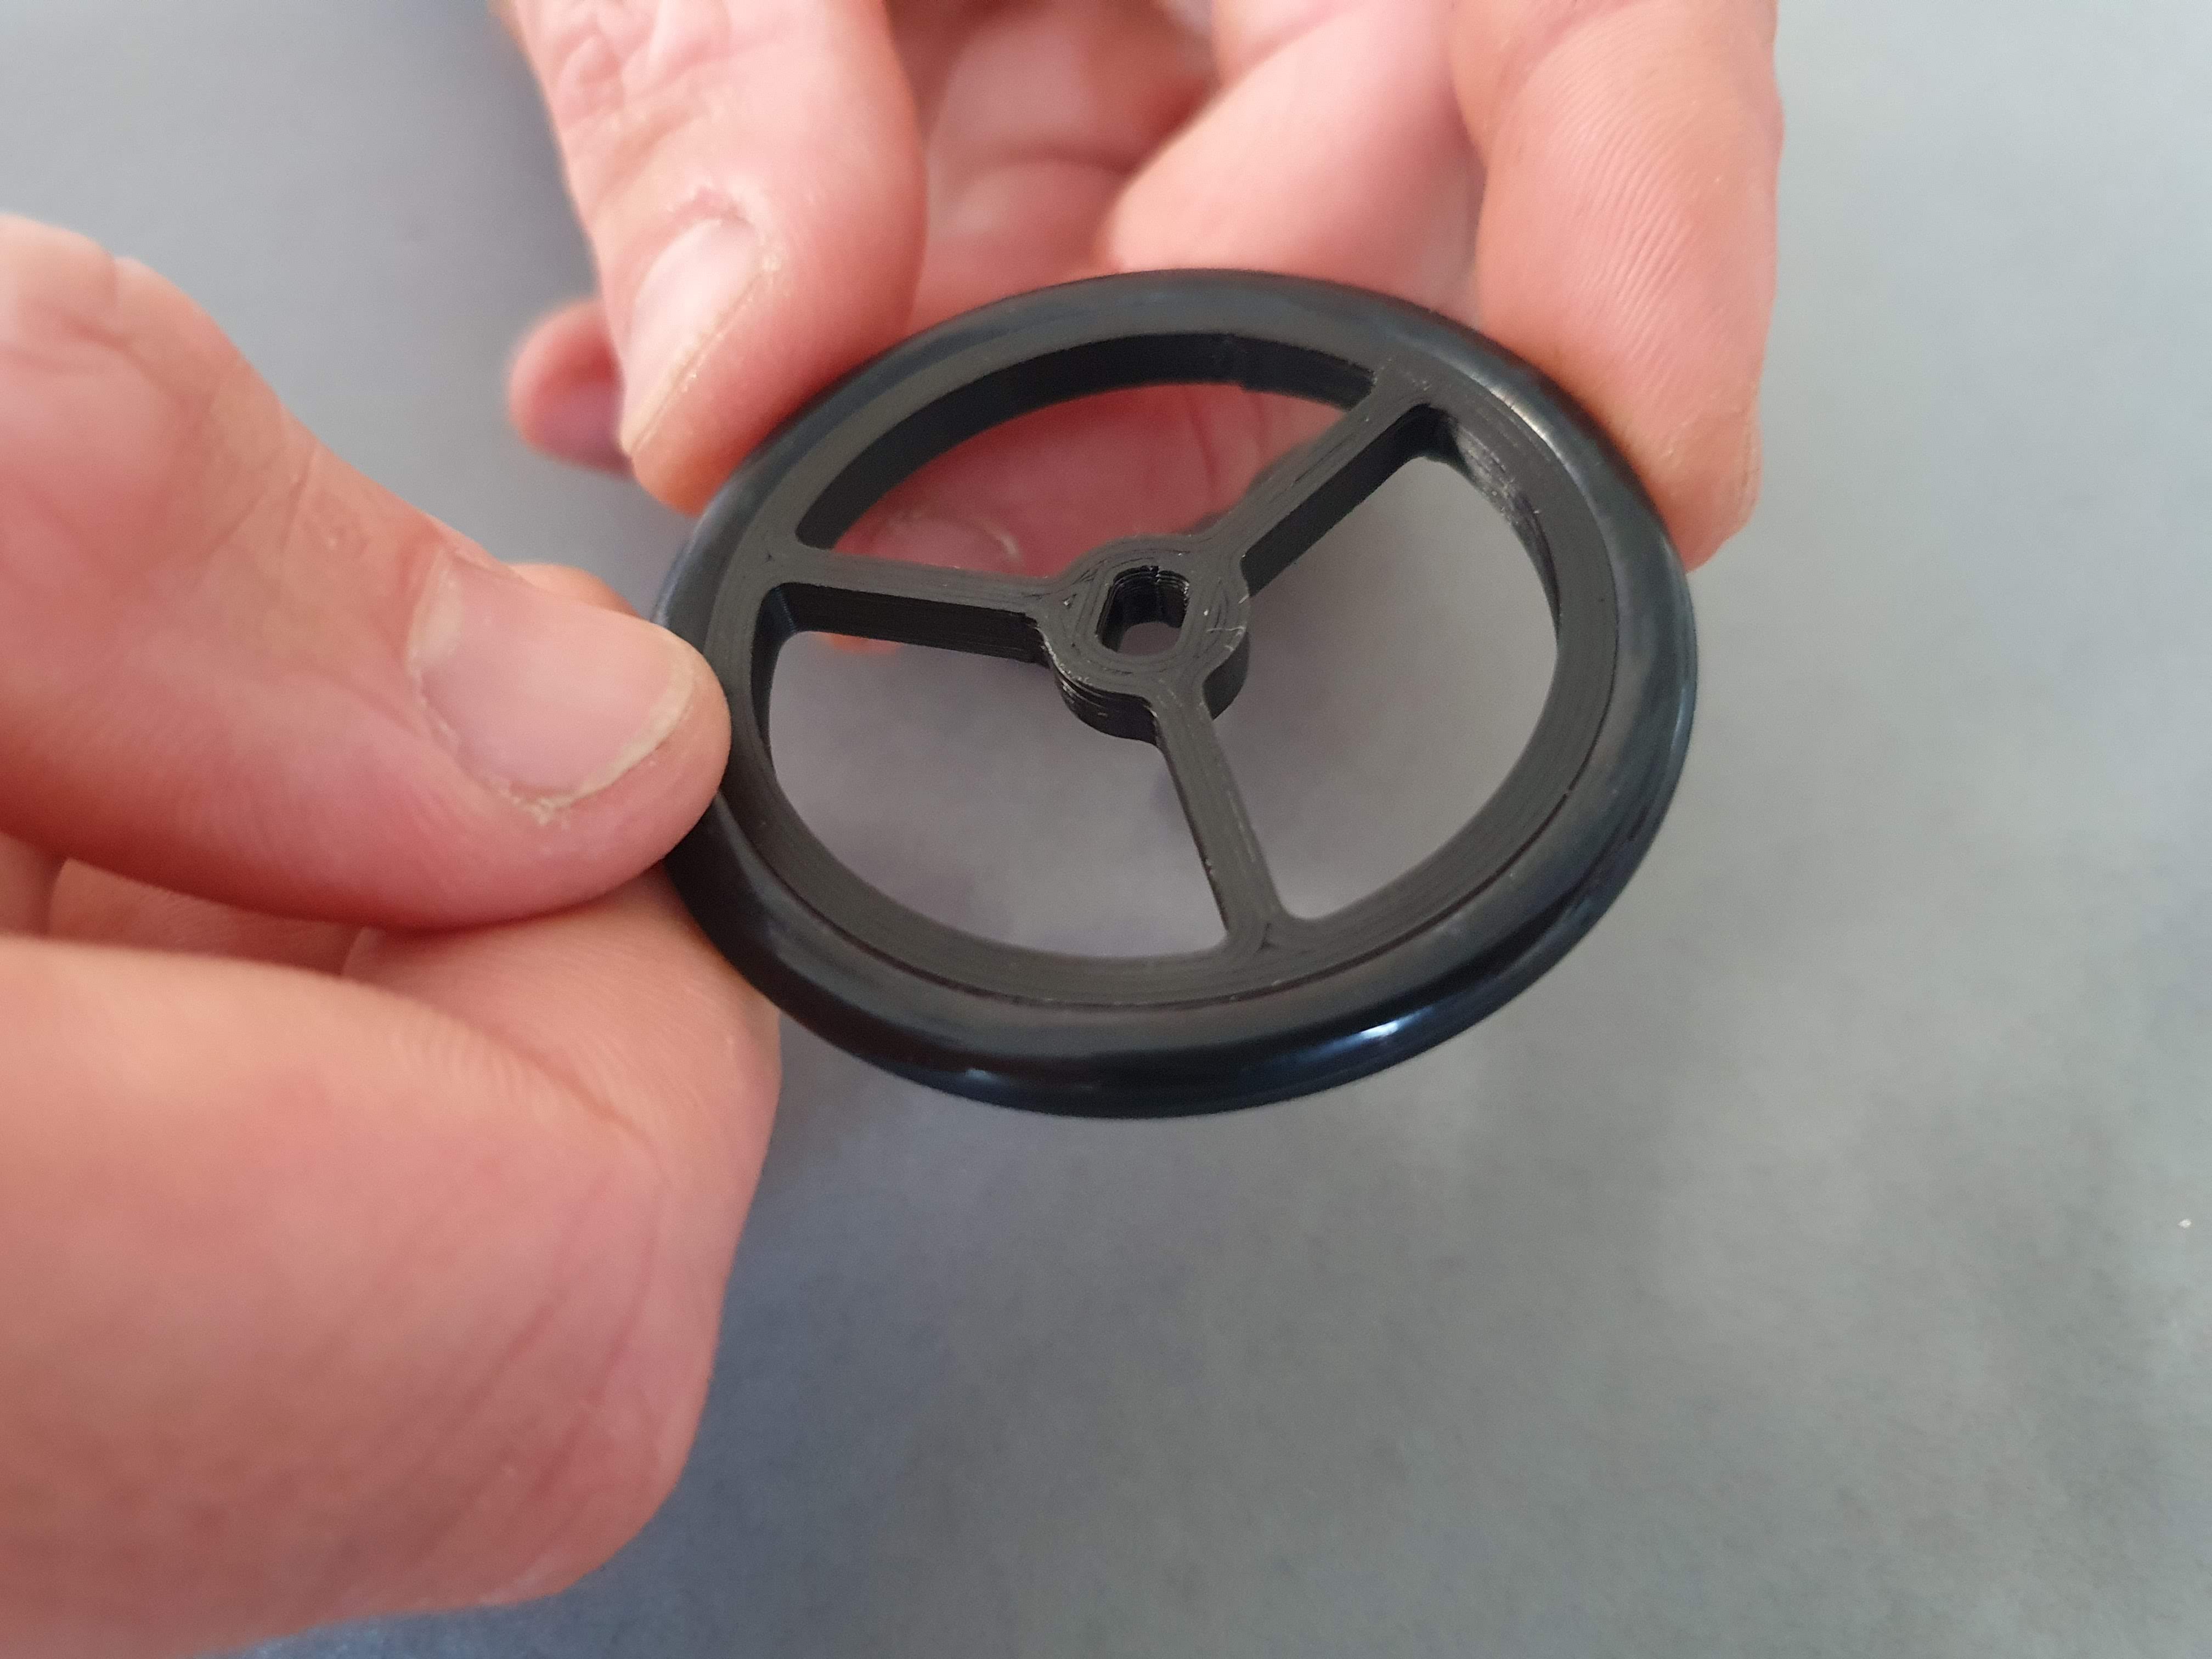
- 2: Determine the top and bottom side of the wheels
Top: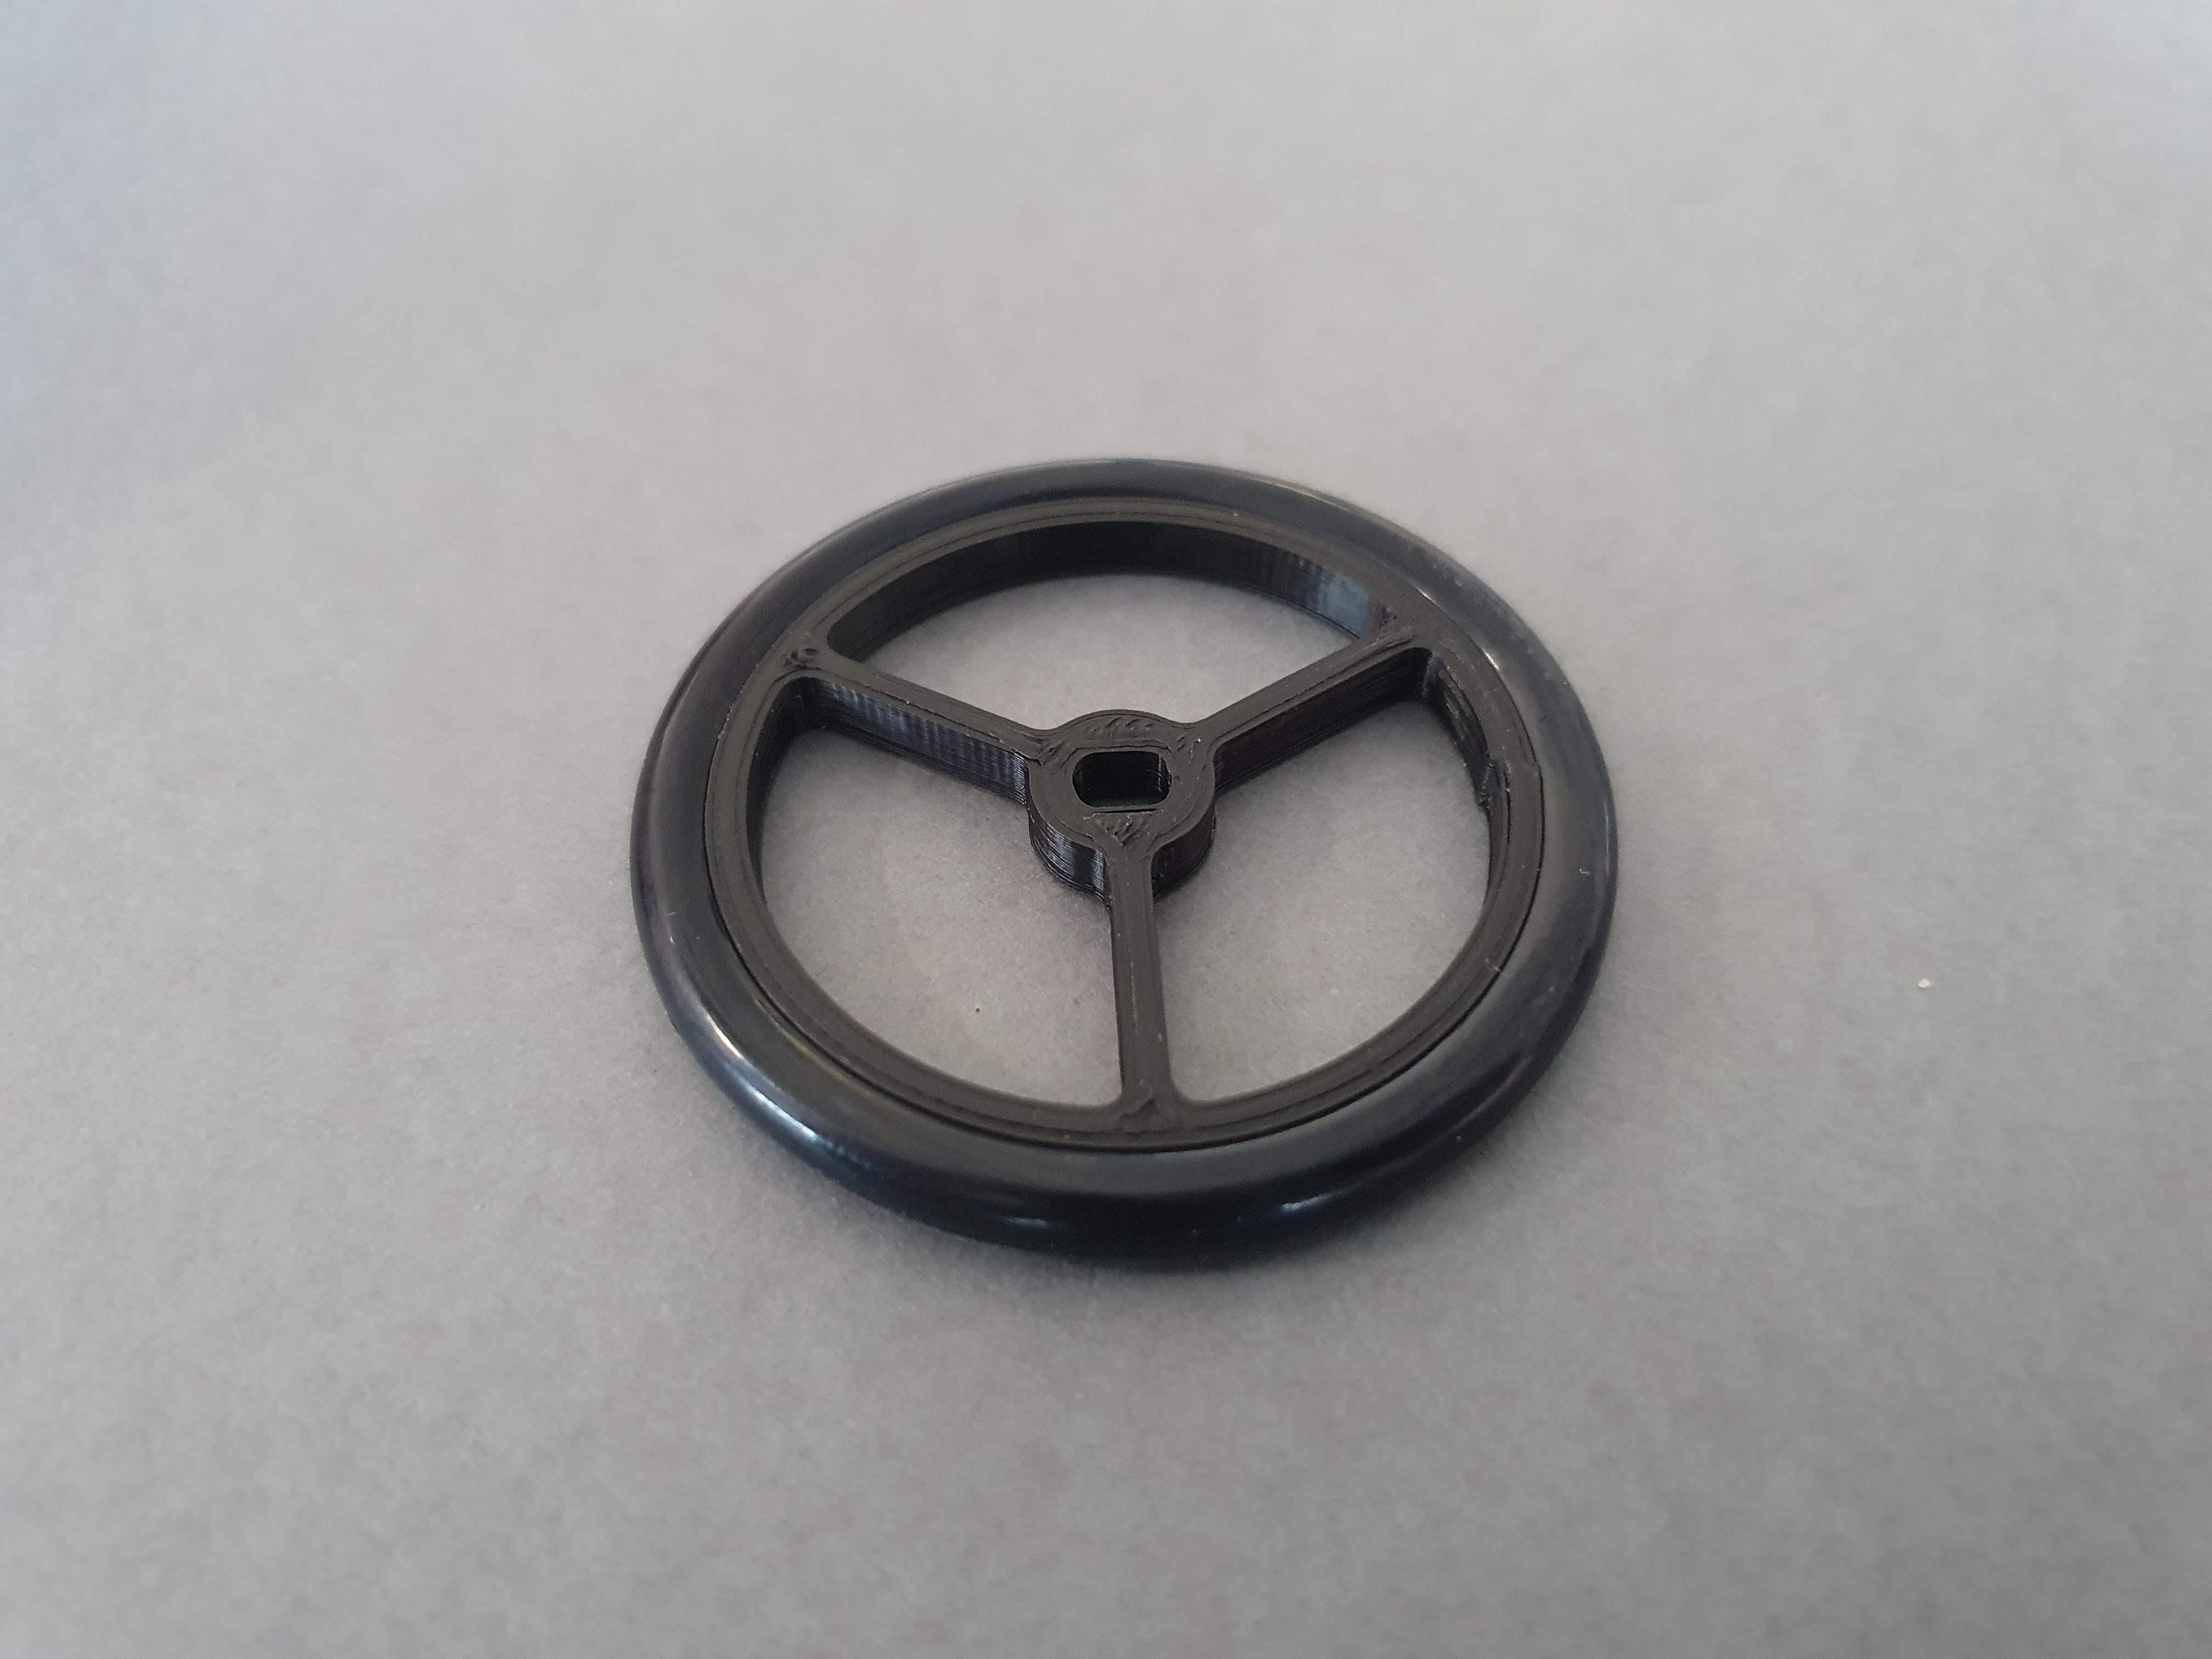 Bottom:
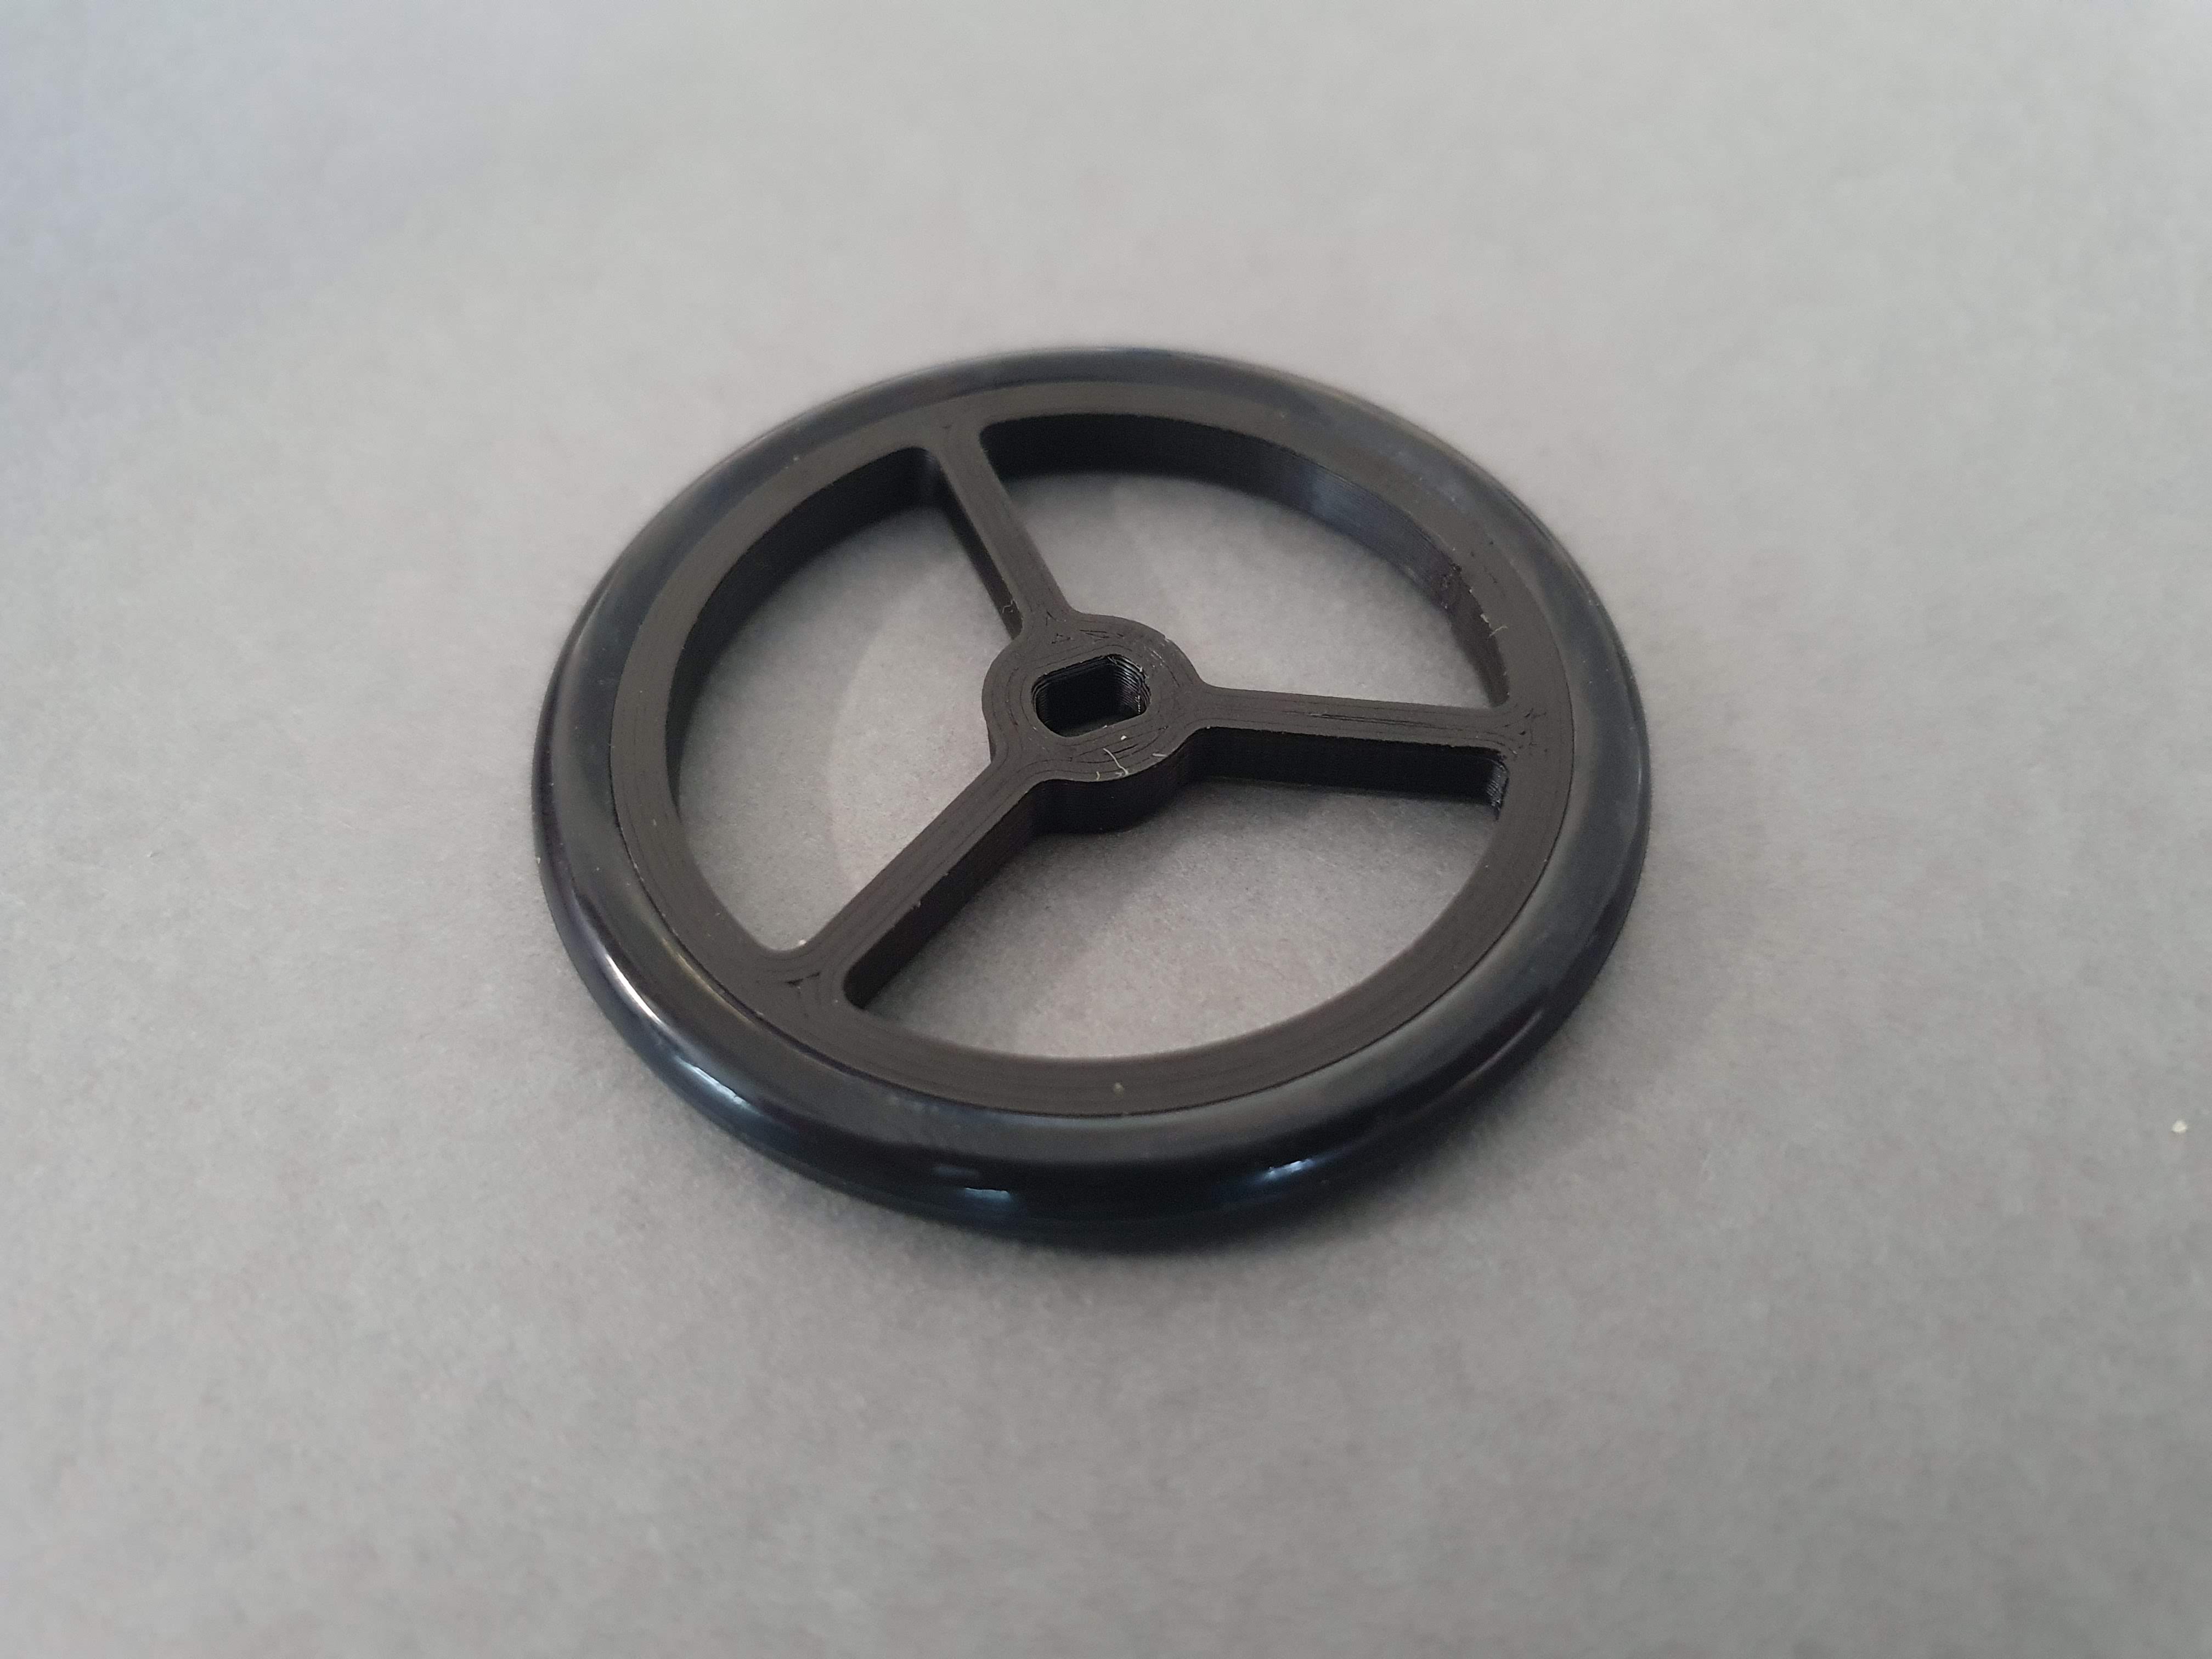
- 3: Push the wheel on to the motorshaft with the topside facing towards the motor
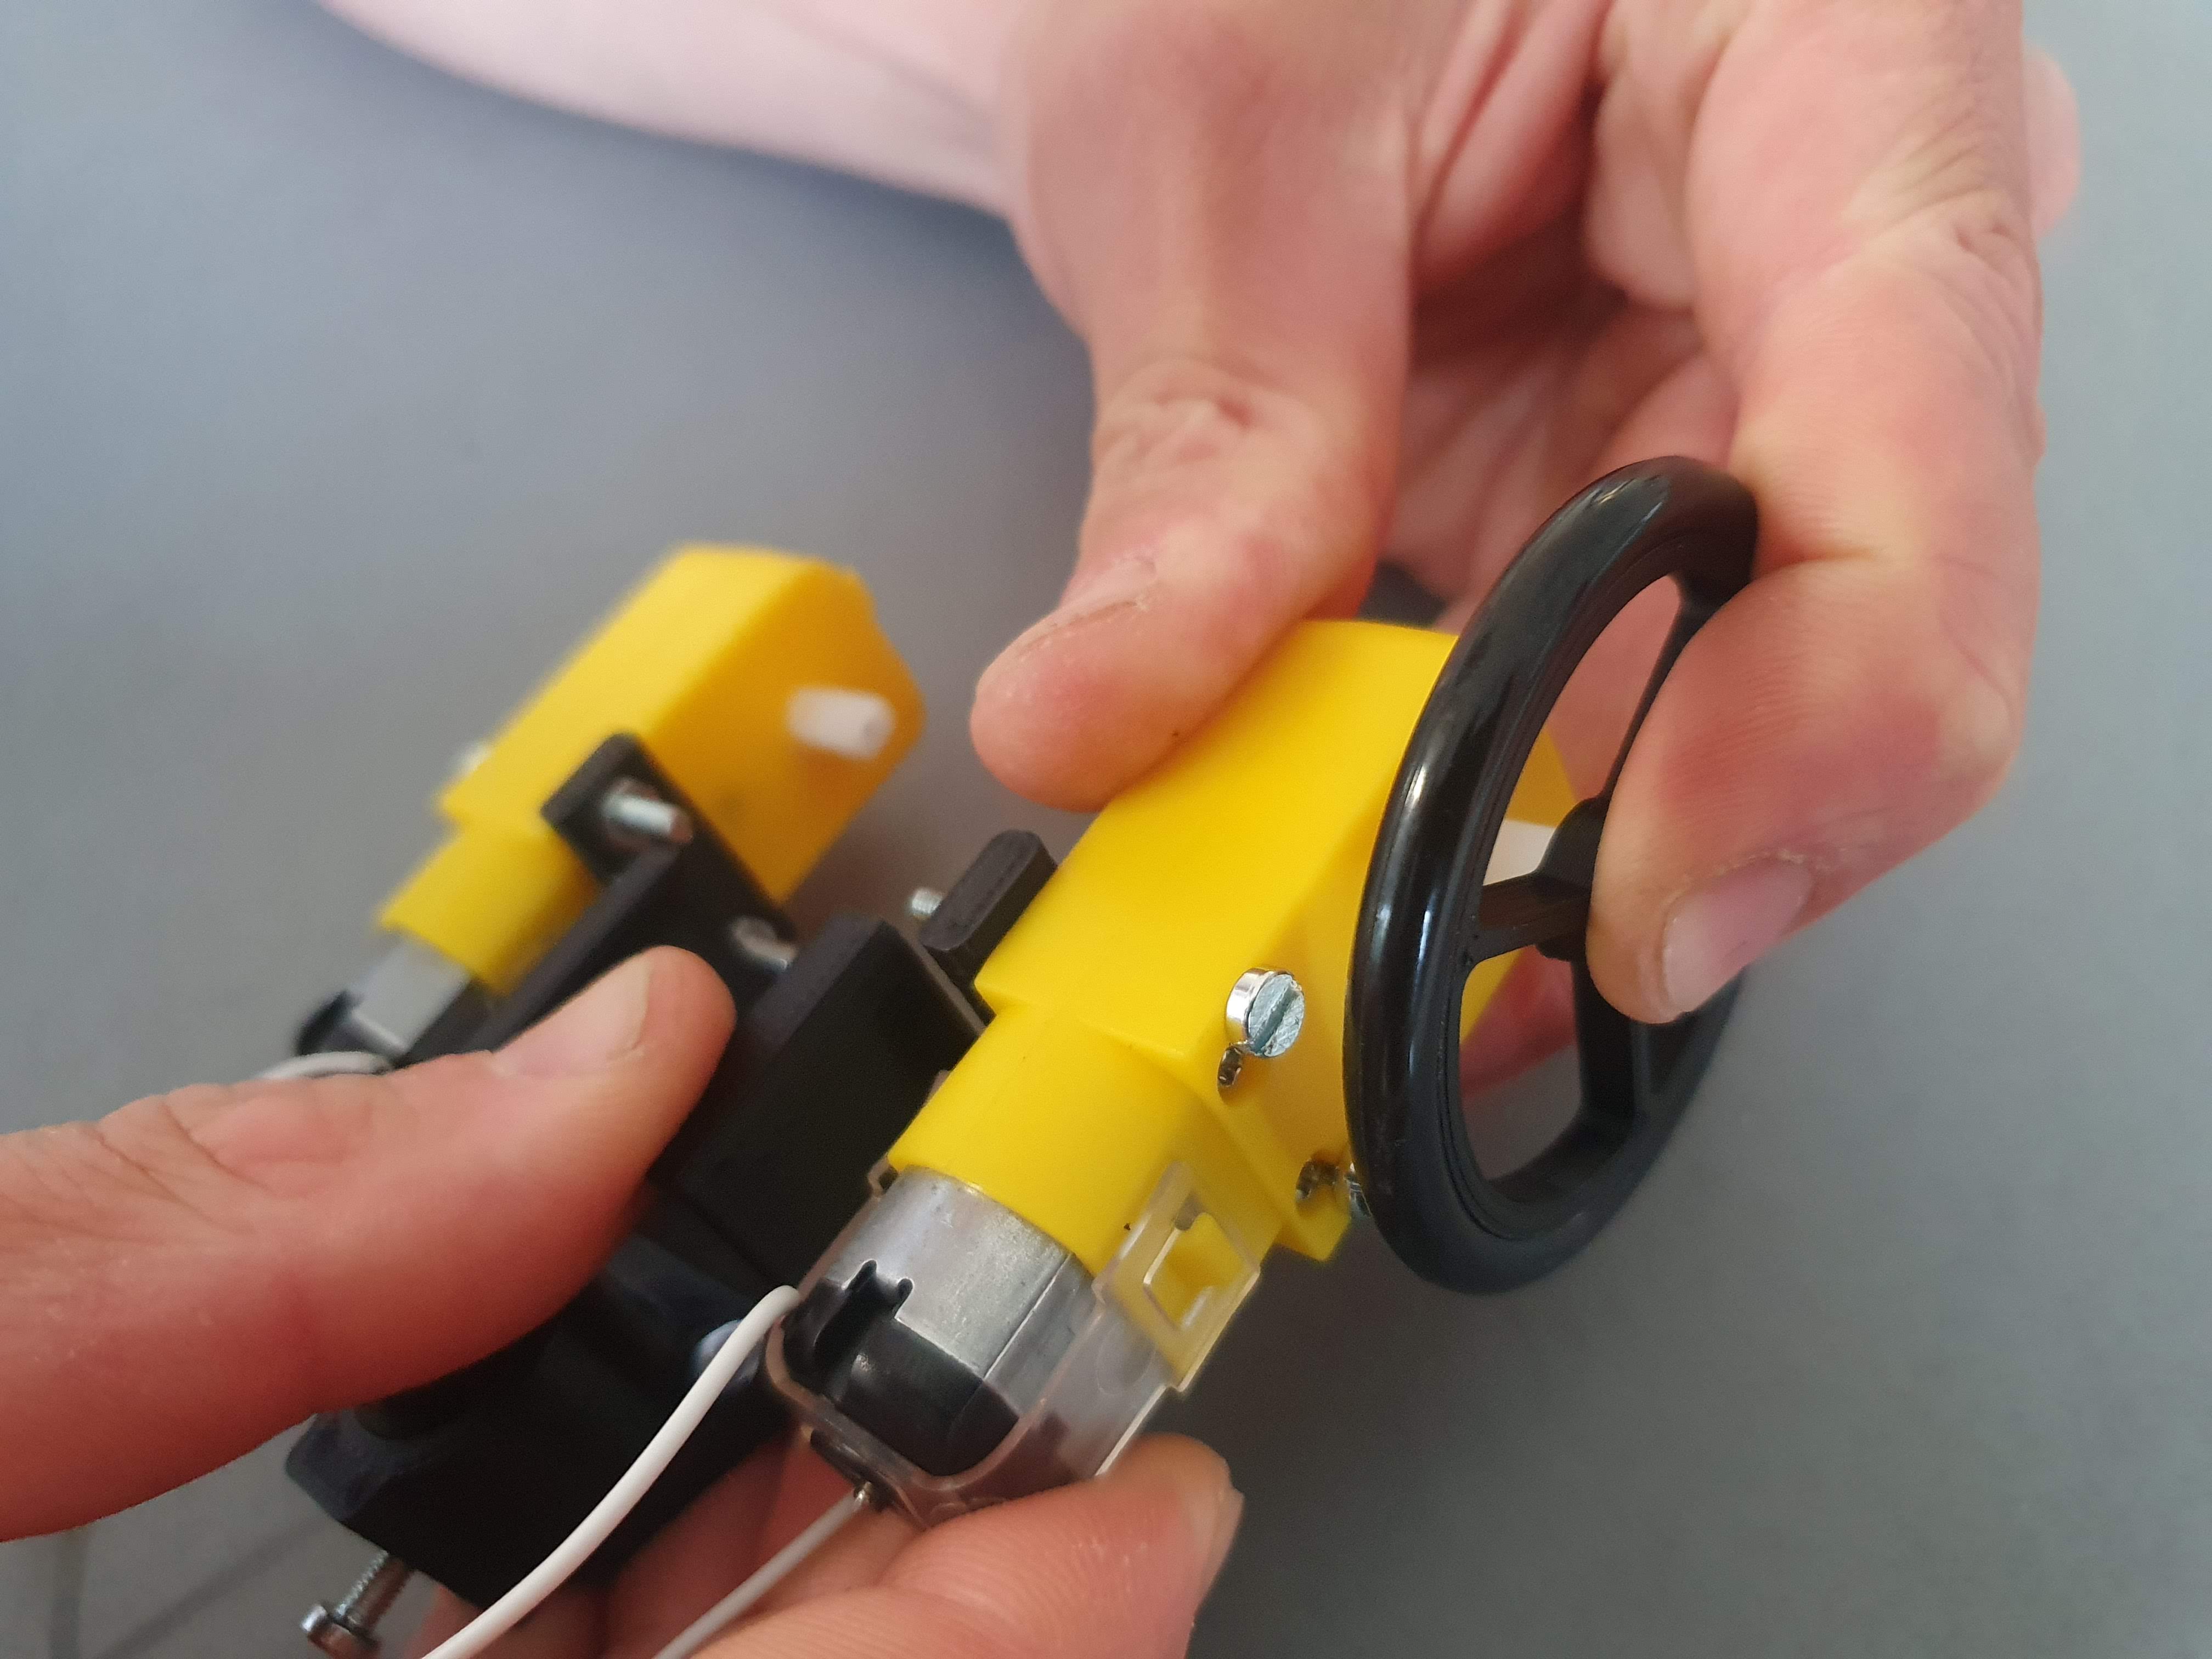
- 4: Leave a little gap between the motor and the wheel

Assemble Wheel Base to the PCB
Materials:
- 1 x Wheel Base
- 1 x Battle Bit PCB
- 4 x 10mm bolt
Steps:
1: Use the switch to turn off the PCB and detach the 9V battery
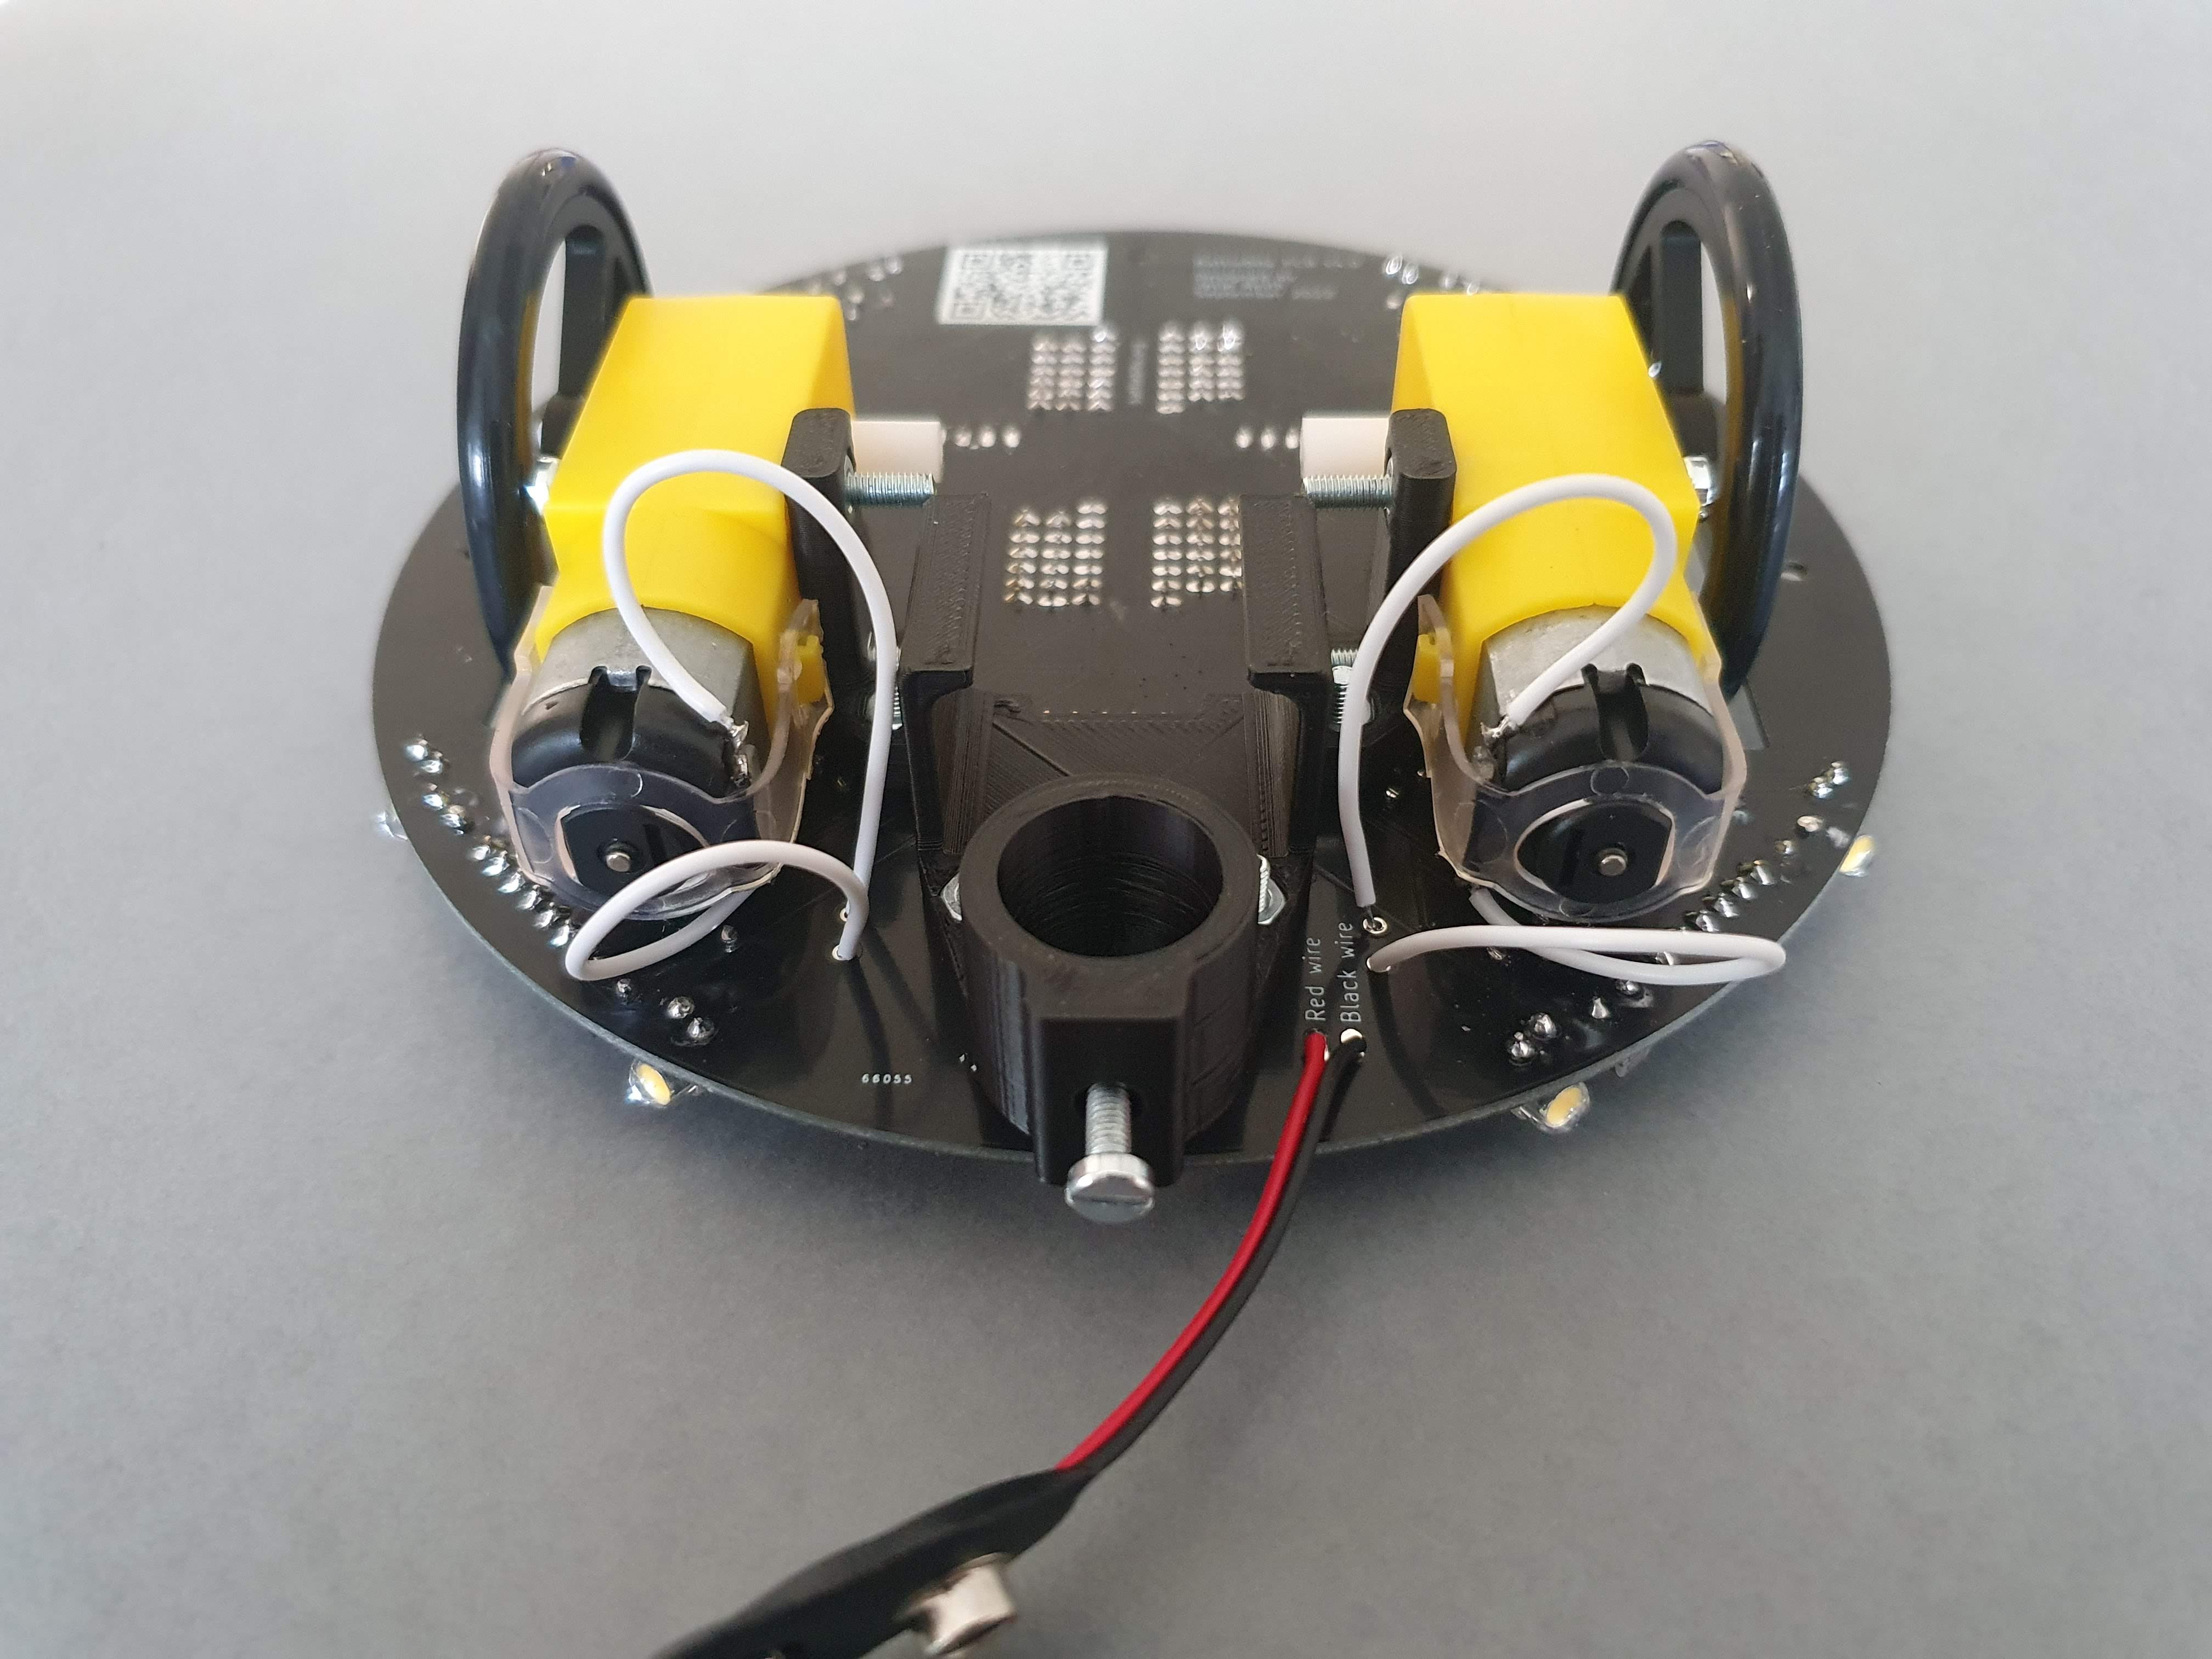
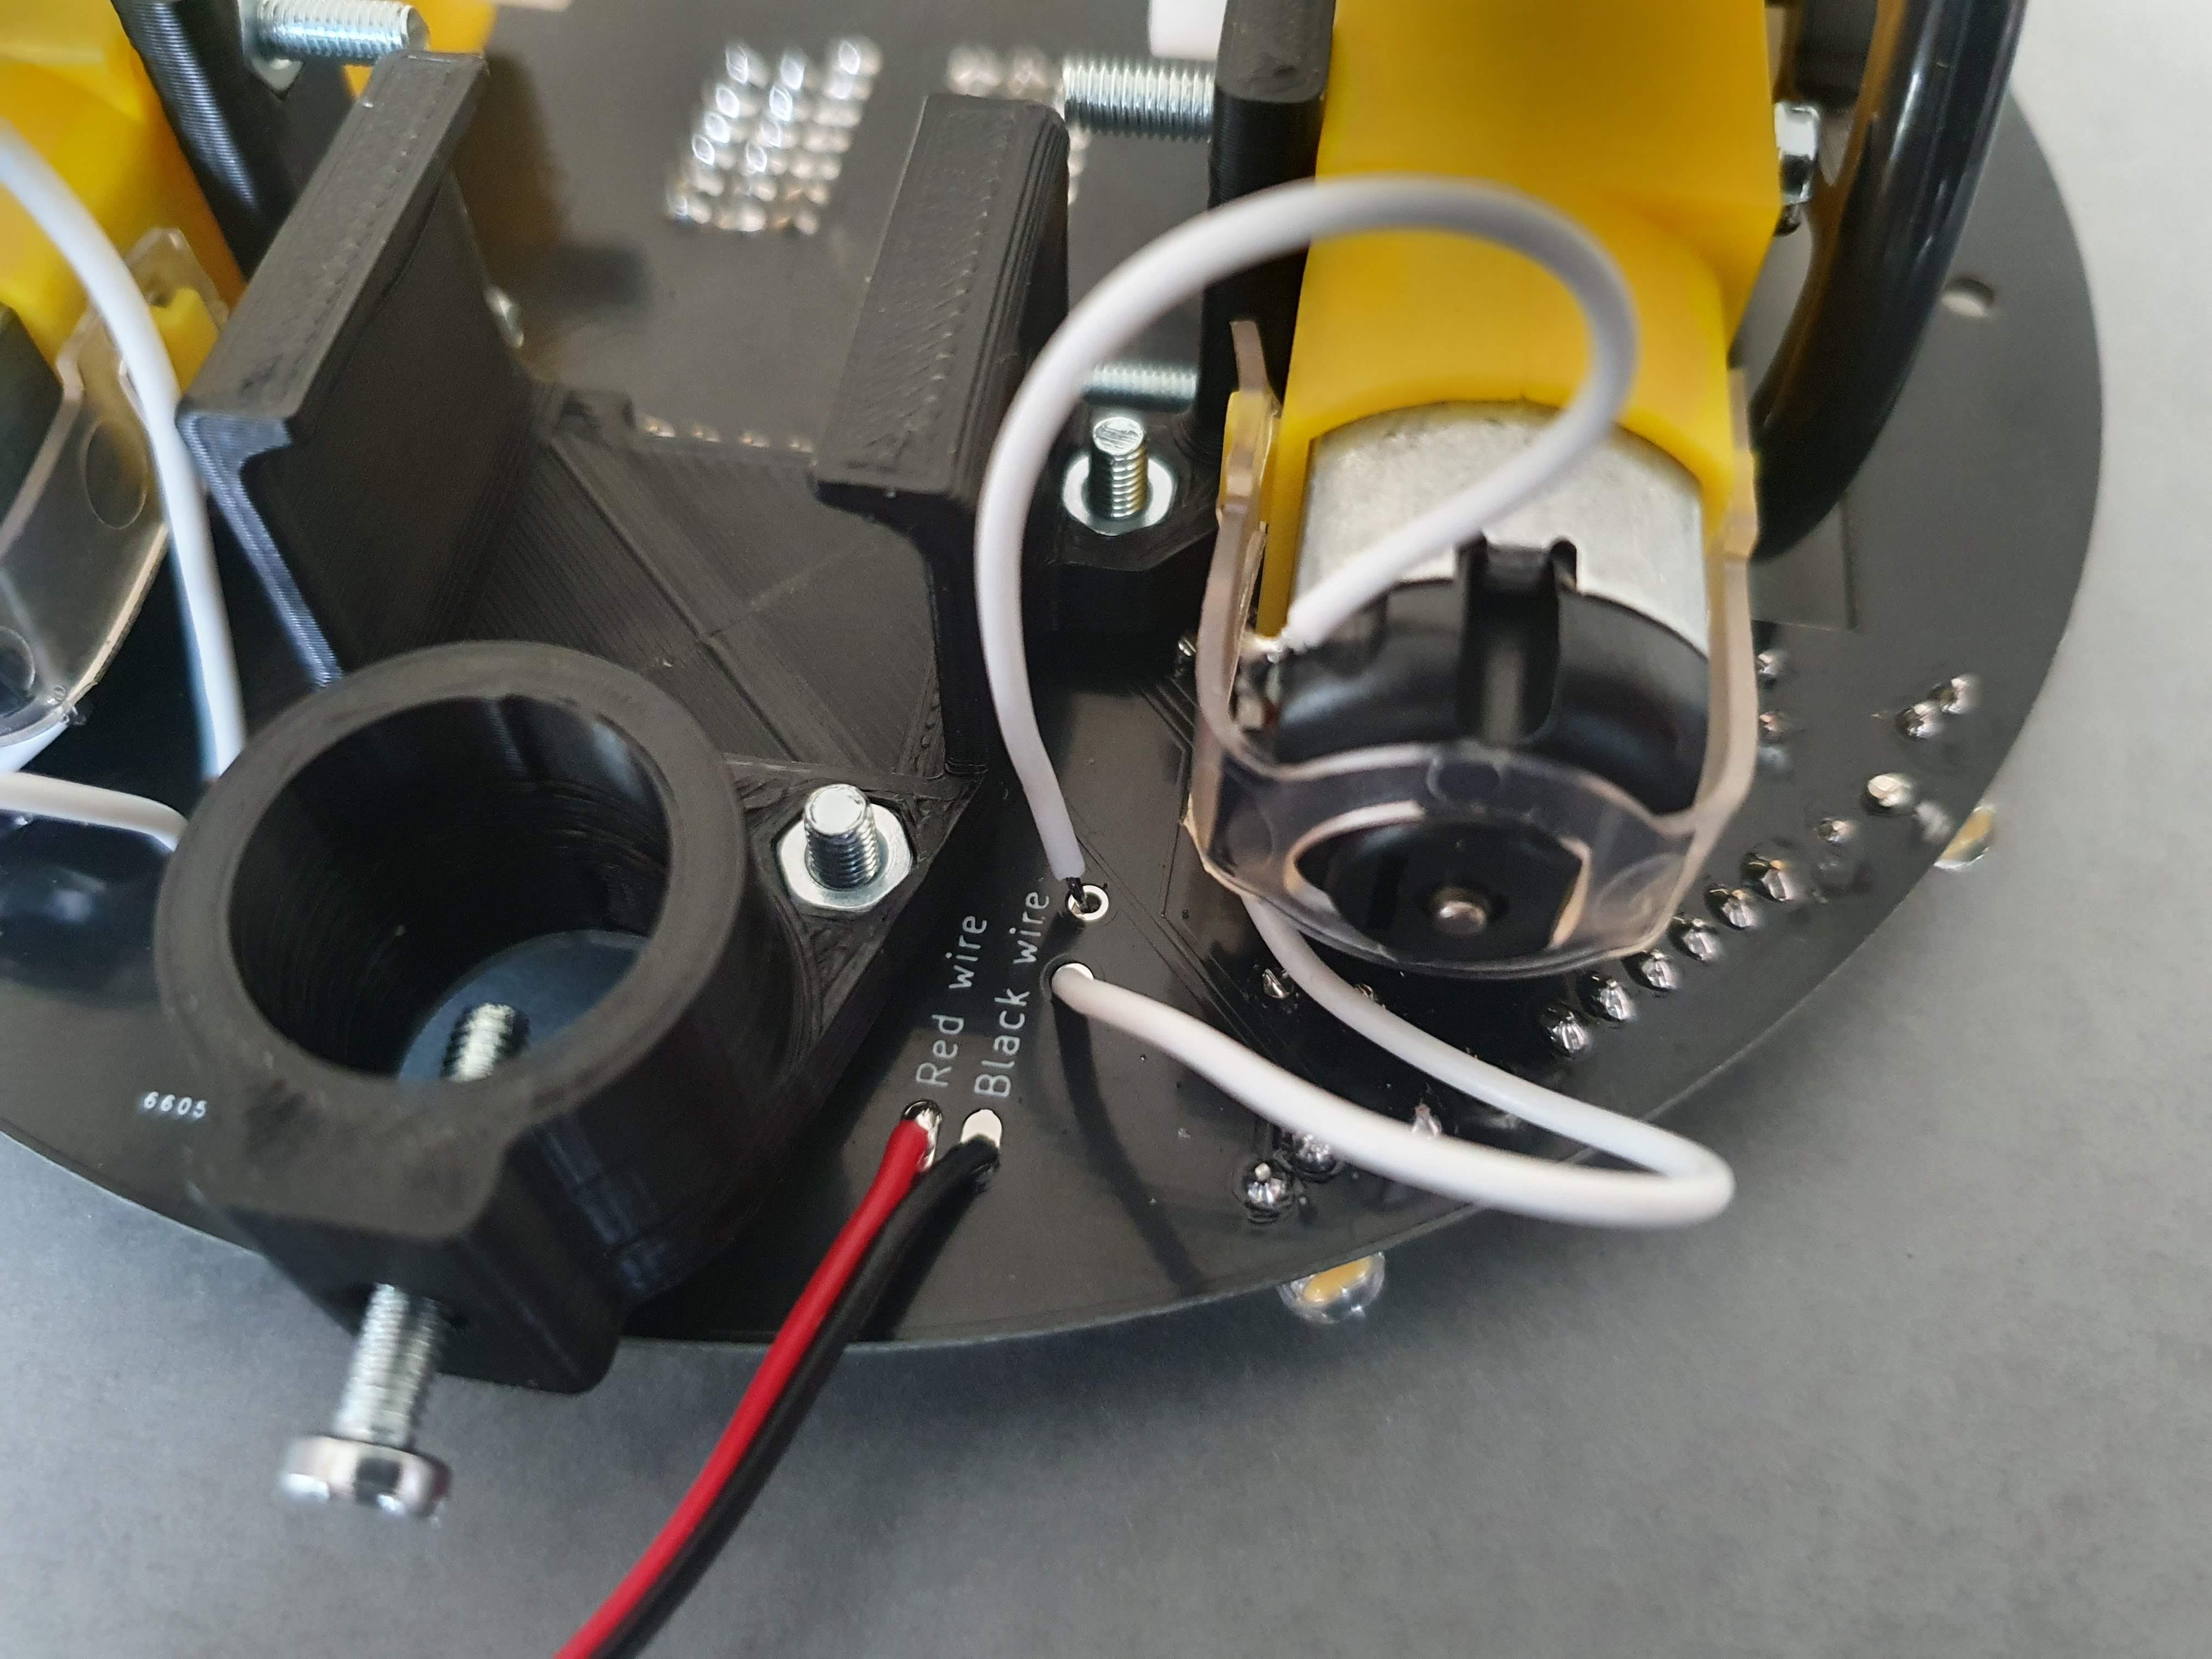
2: Align the nuts with the holes on the PCB as shown:

- 3: Use four 10mm bolts to screw the PCB to the Wheel Base
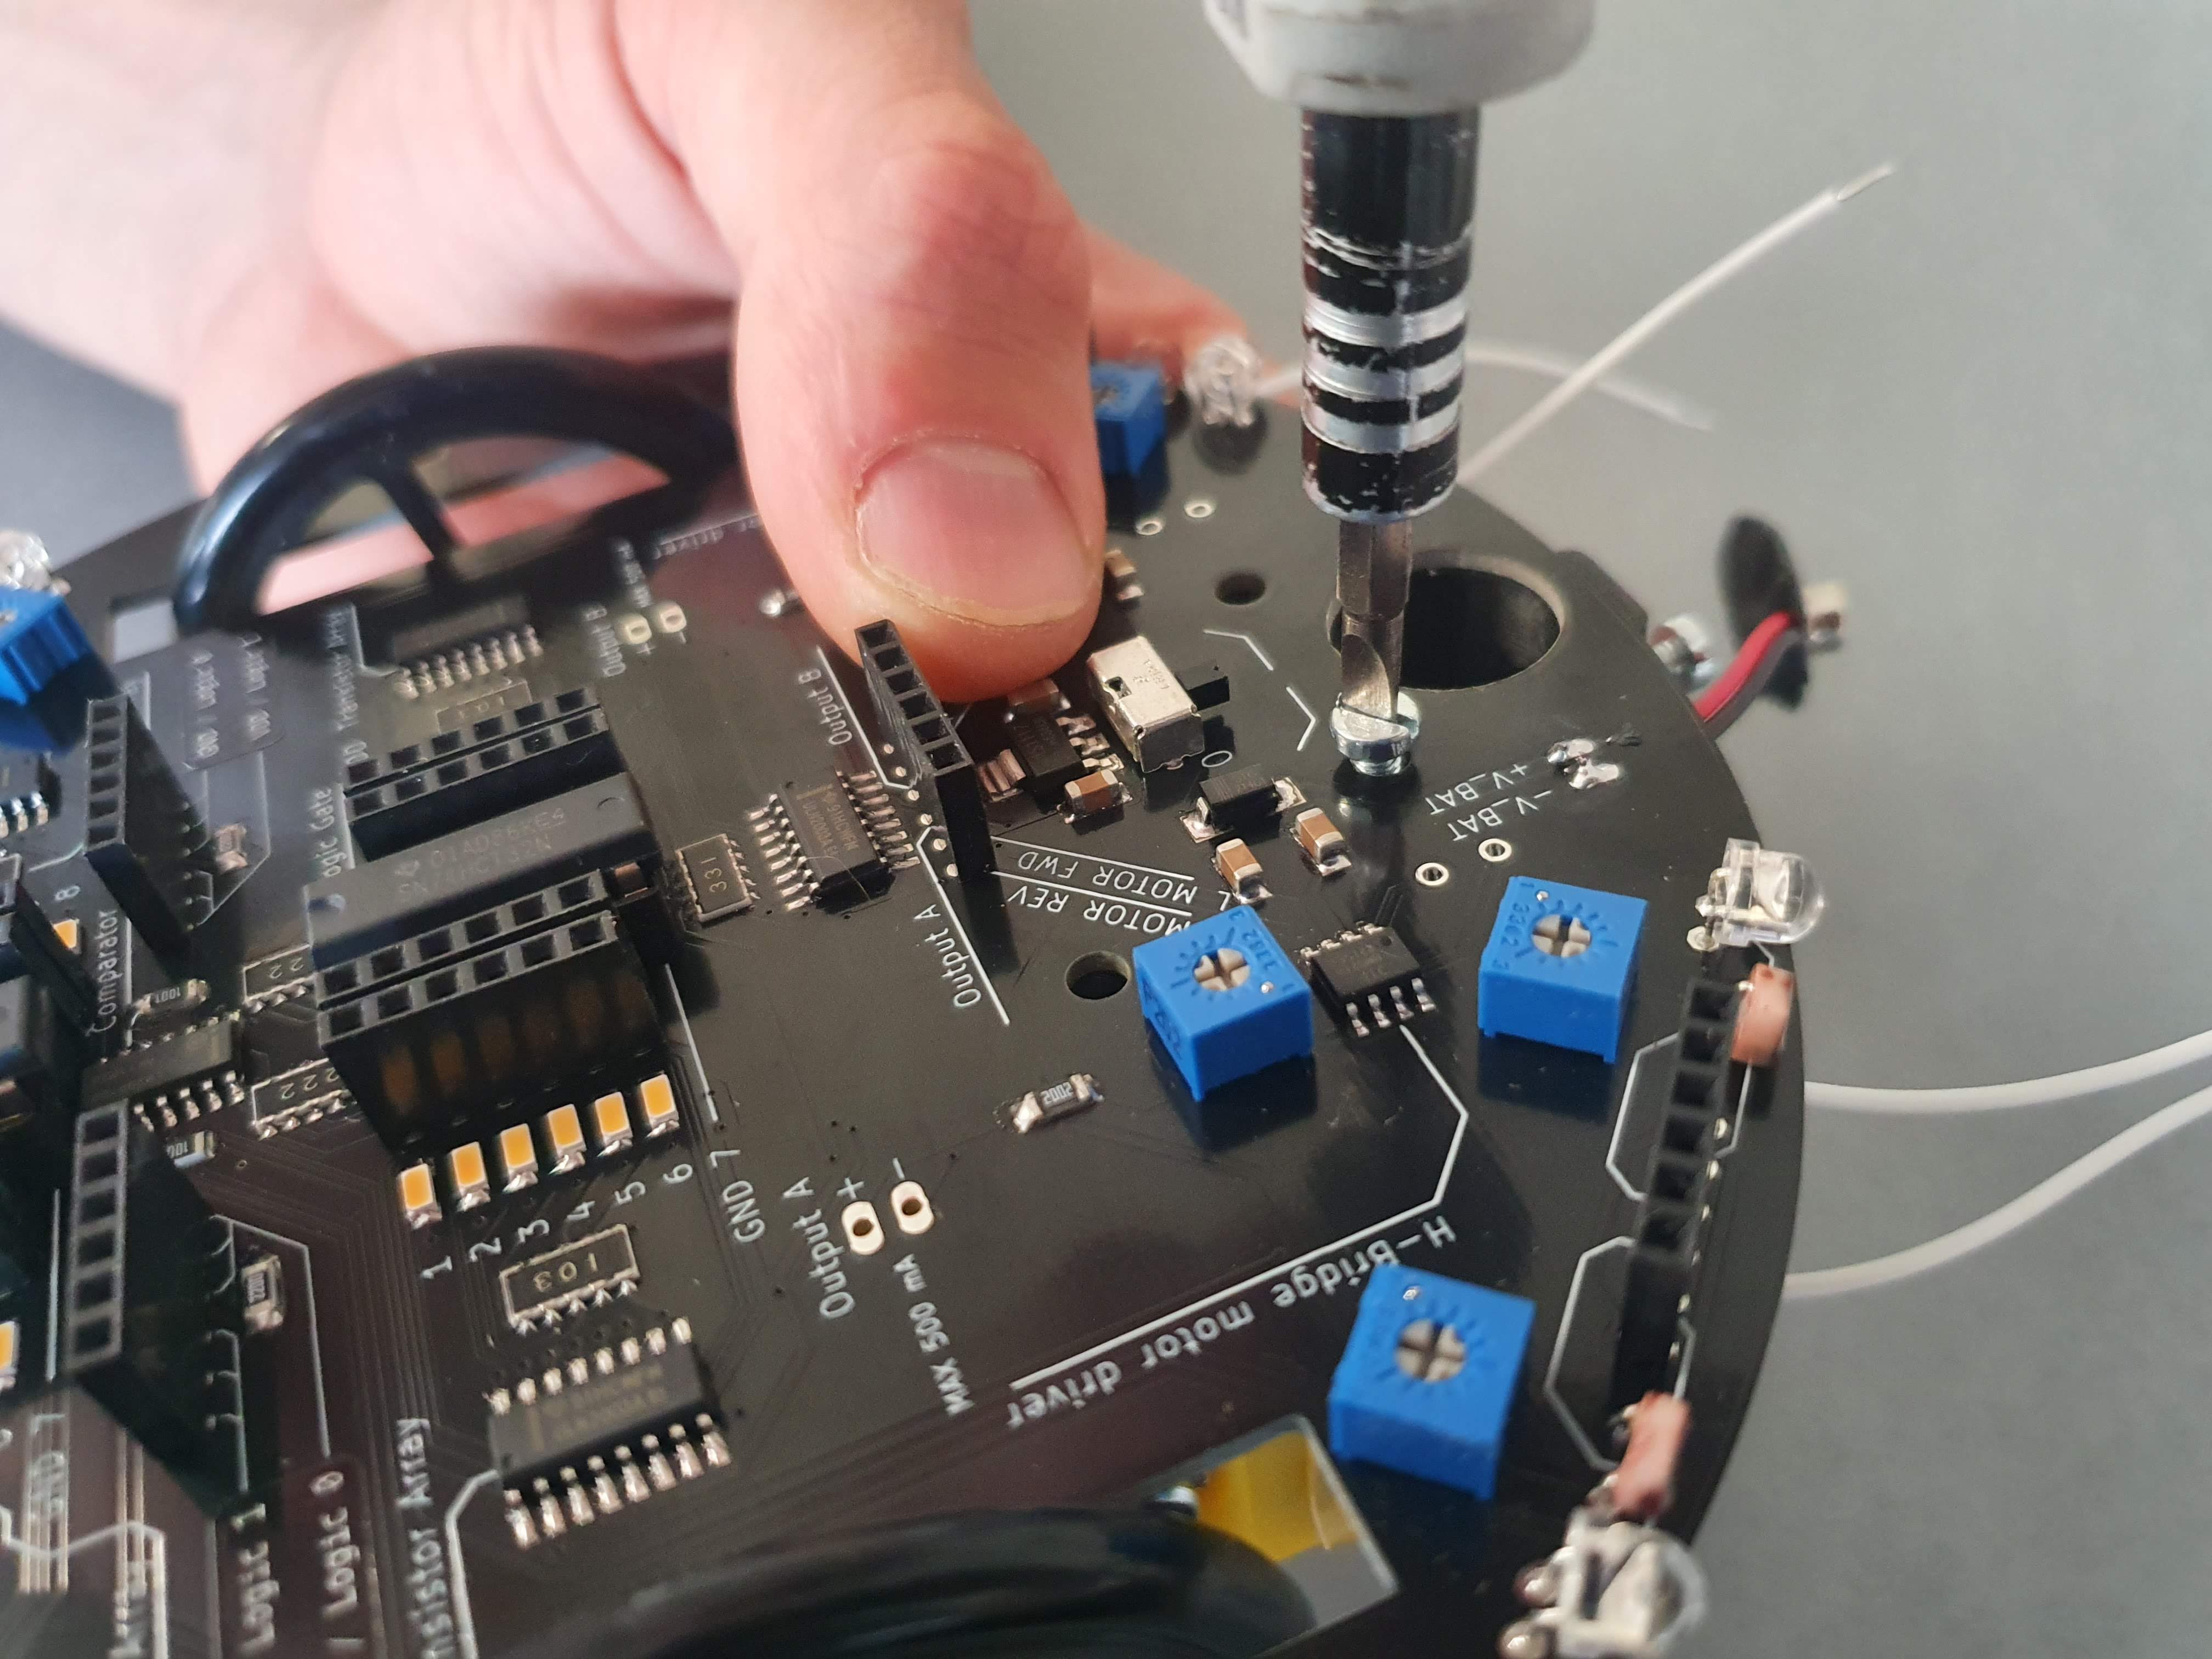
- 4: Put the ends of the white wires in the corresponding holes of the PCB
- 5: Solder the white wires to the PCB
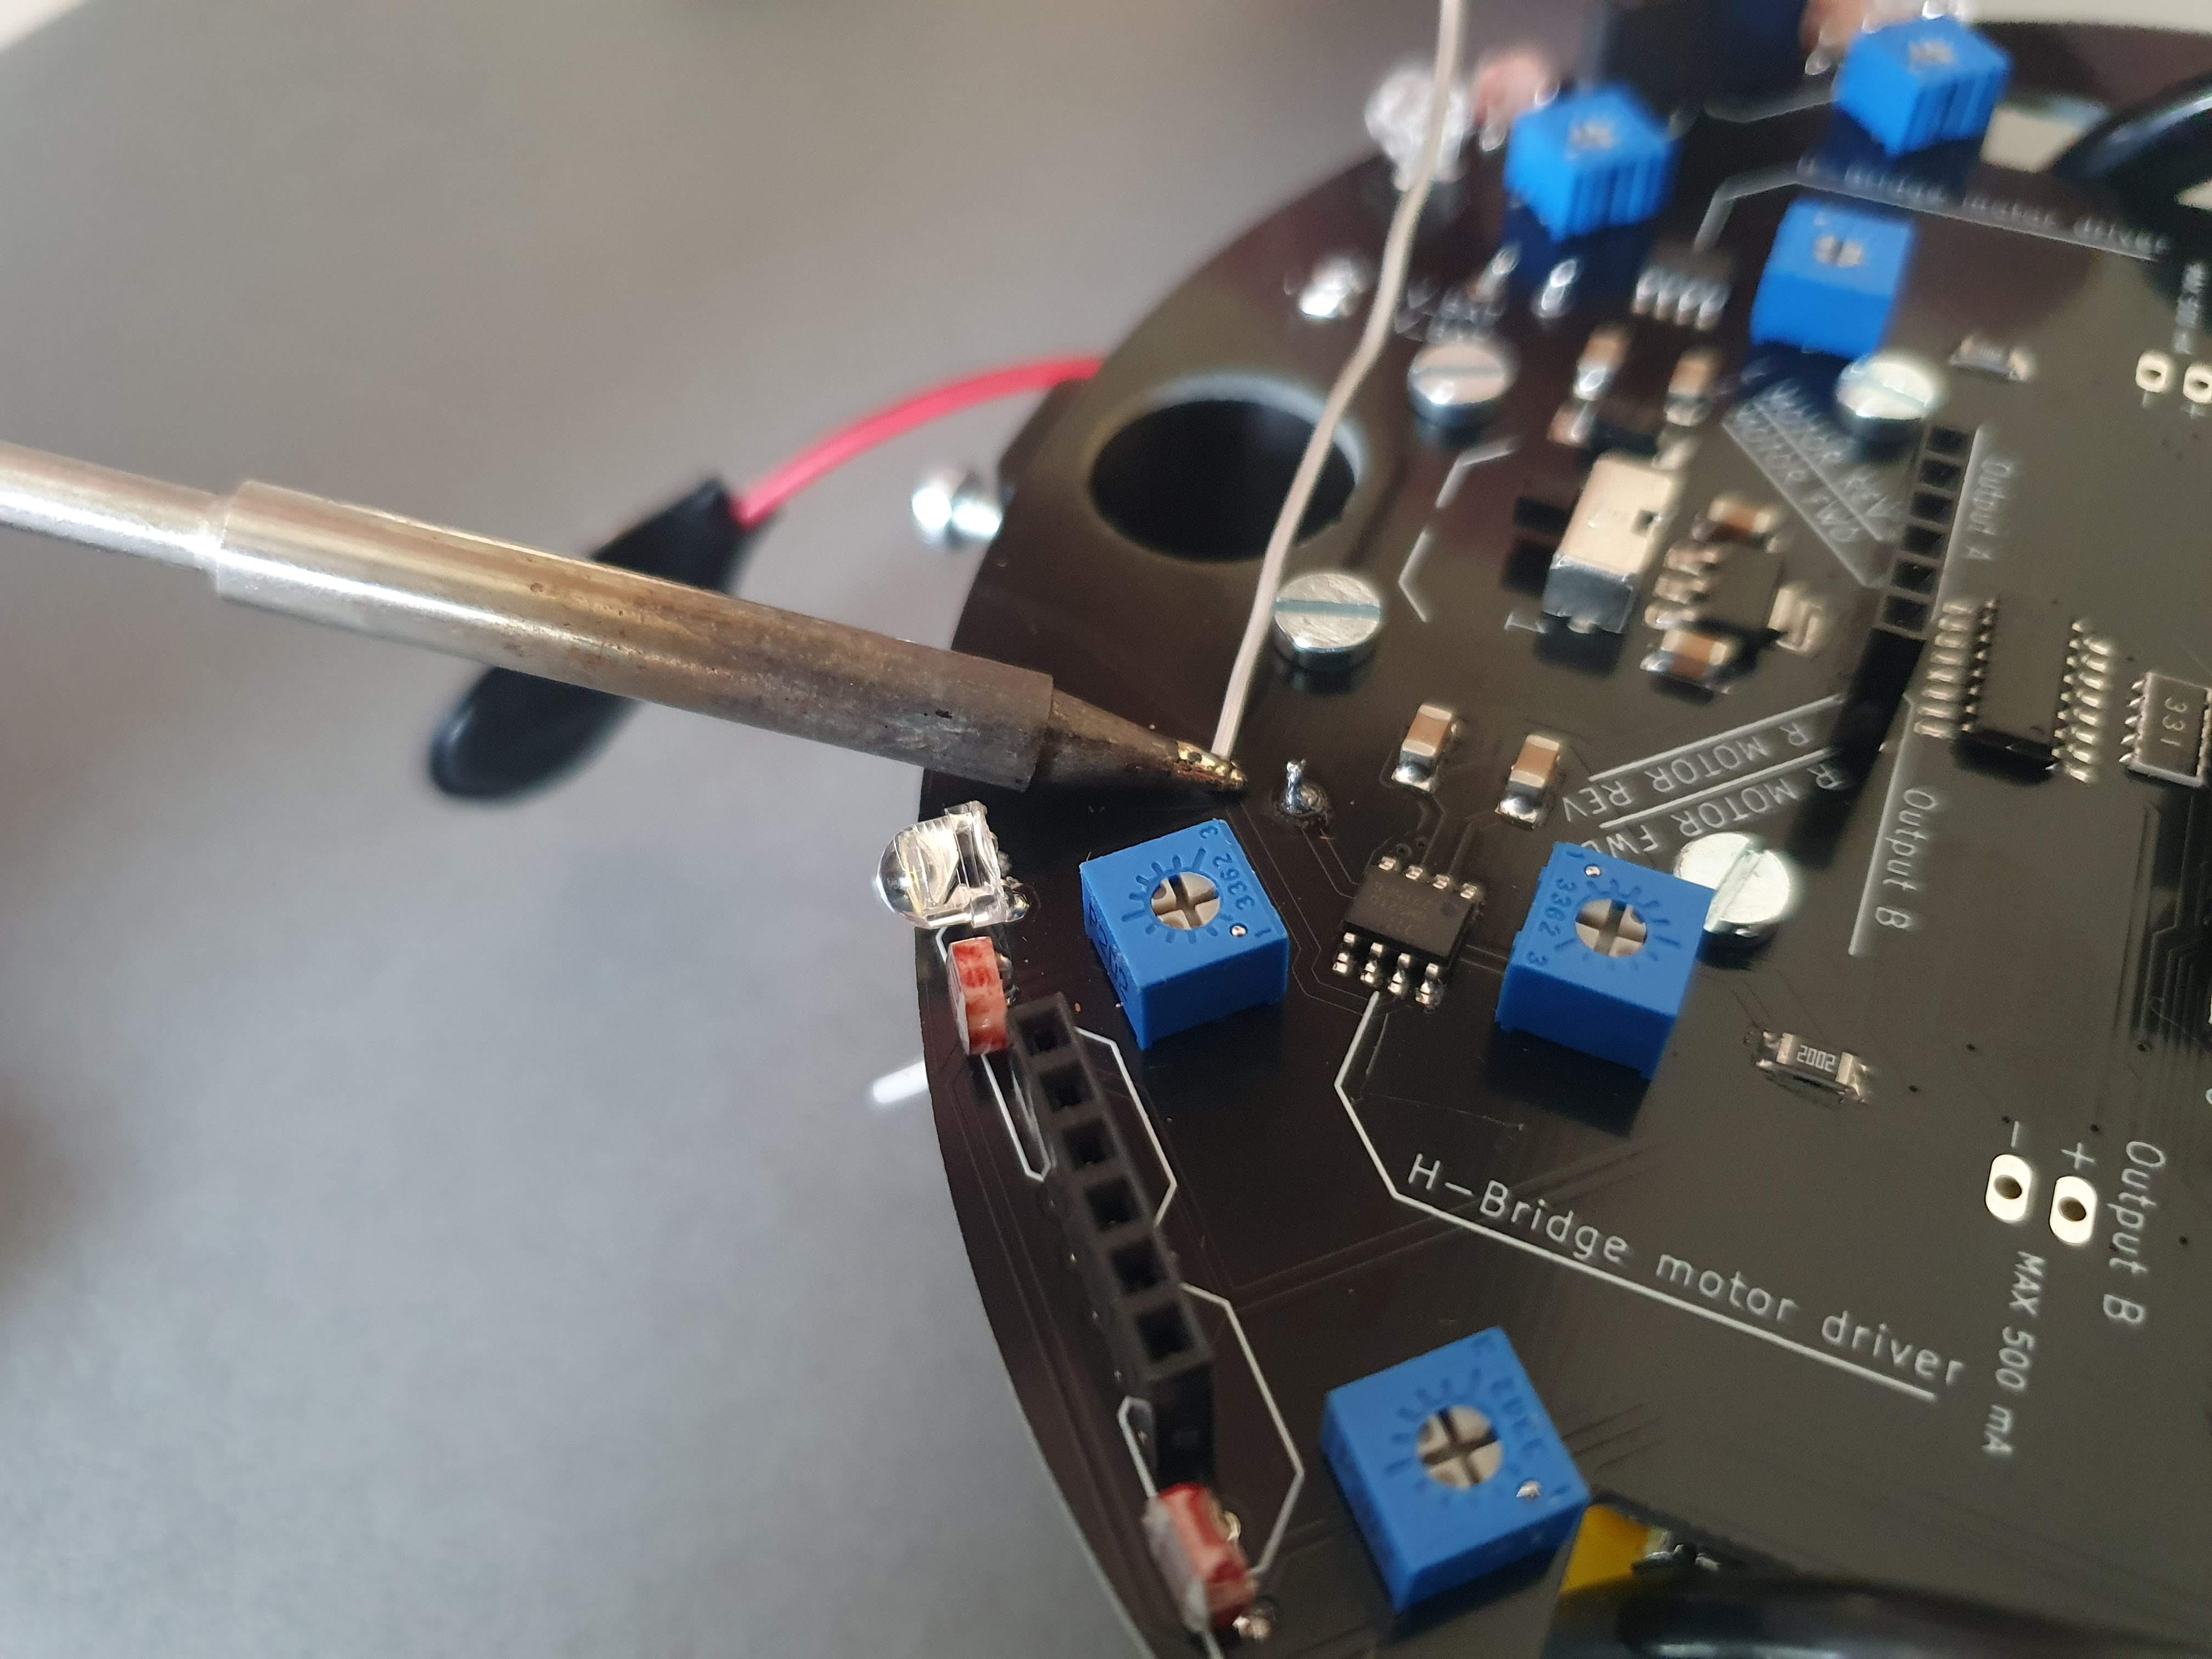
6: Trim the ends of the wires down
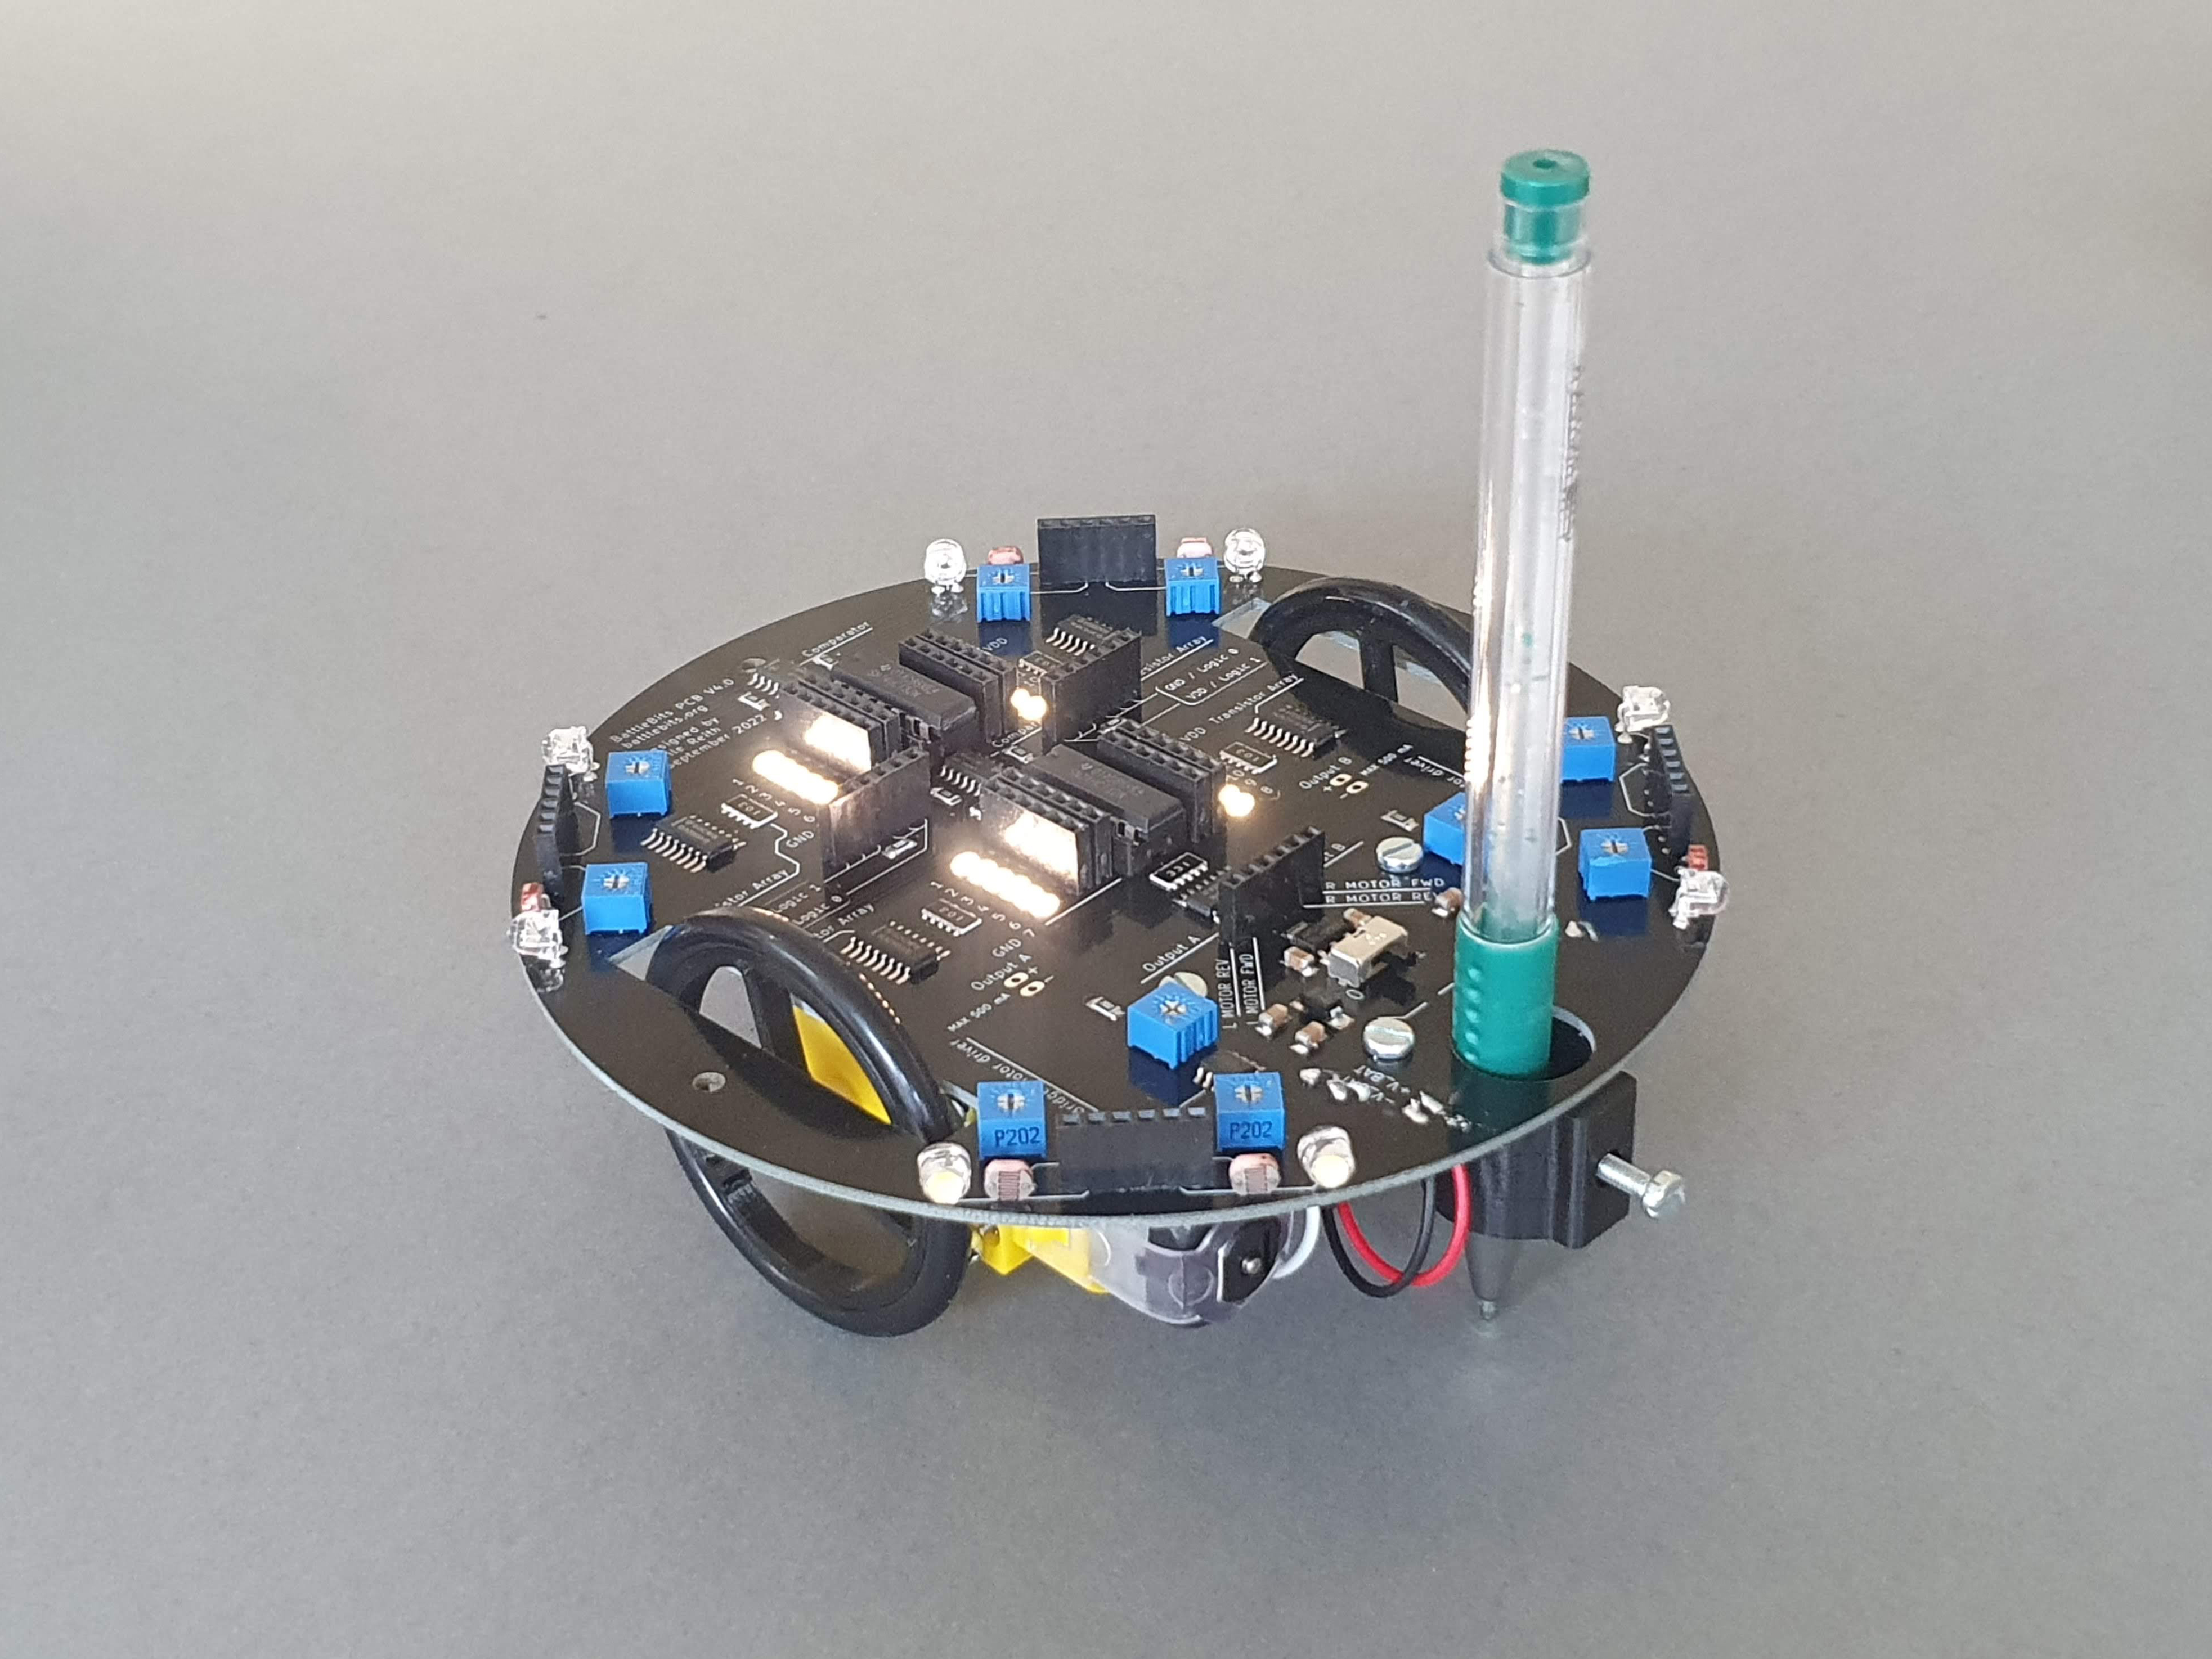
7: Connect the 9V battery and put it in the battery holder
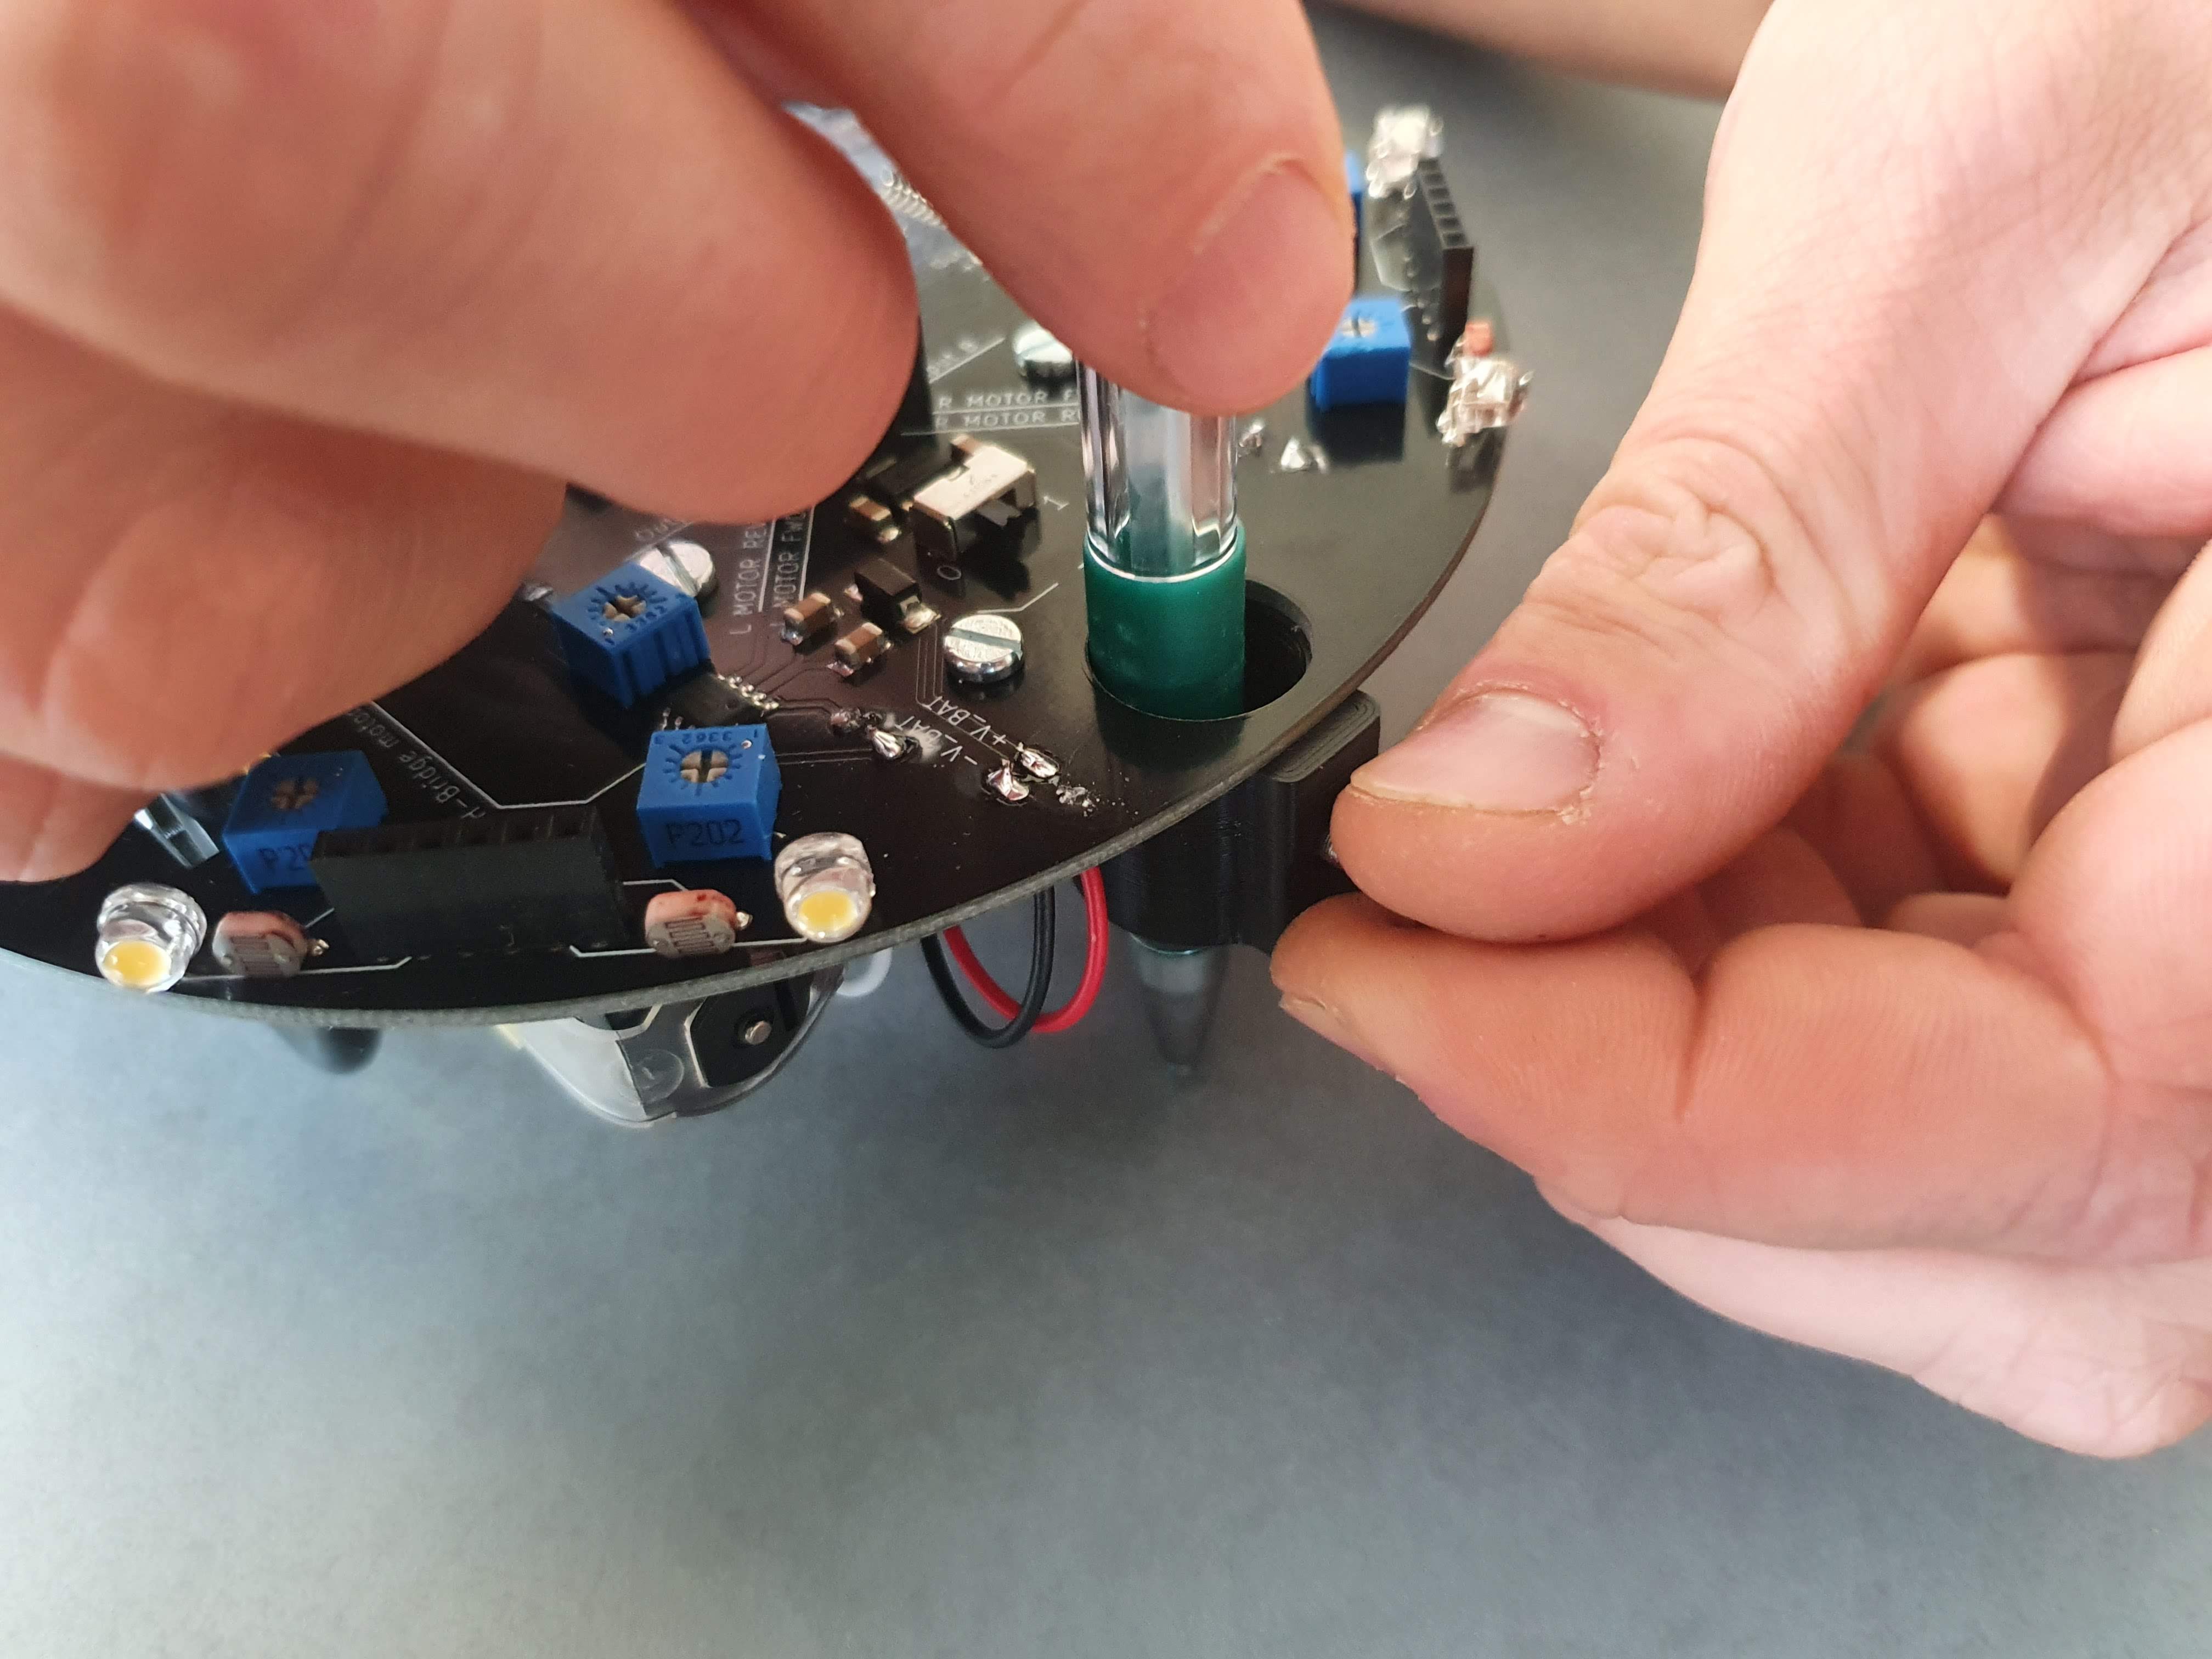
8: Place a marker or pen in the hole and screw in the 18mm bolt to hold it in place